
Your Robot Mower's First 30 Days: The New-Owner Checklist
The box is on the porch. Somewhere between “charge the battery” and “map your lawn,” the manual stops telling you what actually matters — the order of decisions in the first month that decides whether this machine quietly runs for years or becomes a thing you fight with.
We install and service these for a living. Here’s the first 30 days the way we’d run them on our own lawn, with the deep-dive guide linked at every step.
Before it mows: two decisions and one last old-school cut
Pick the antenna spot before you unpack anything else. If your mower uses an RTK base station, its location is the single most important call of the whole install — and it does not have to be next to the charging dock. Height, open sky, and a rigid mount; the four placement rules are here. A marginal spot works fine for a season and then starts drifting, so spend the ten minutes now.
Put the dock somewhere boring. Flat, shaded if possible, near power, with room for the mower to approach straight on.
Then give the lawn one last short cut with your old mower. This is the knockdown cut, and skipping it is one of the classic first-week mistakes. A robot mower shaves a small amount daily — it’s not built to bushwhack three weeks of growth on day one, and short grass makes the next step easier too.
Days 1–2: map it like you’ll live with it (you will)
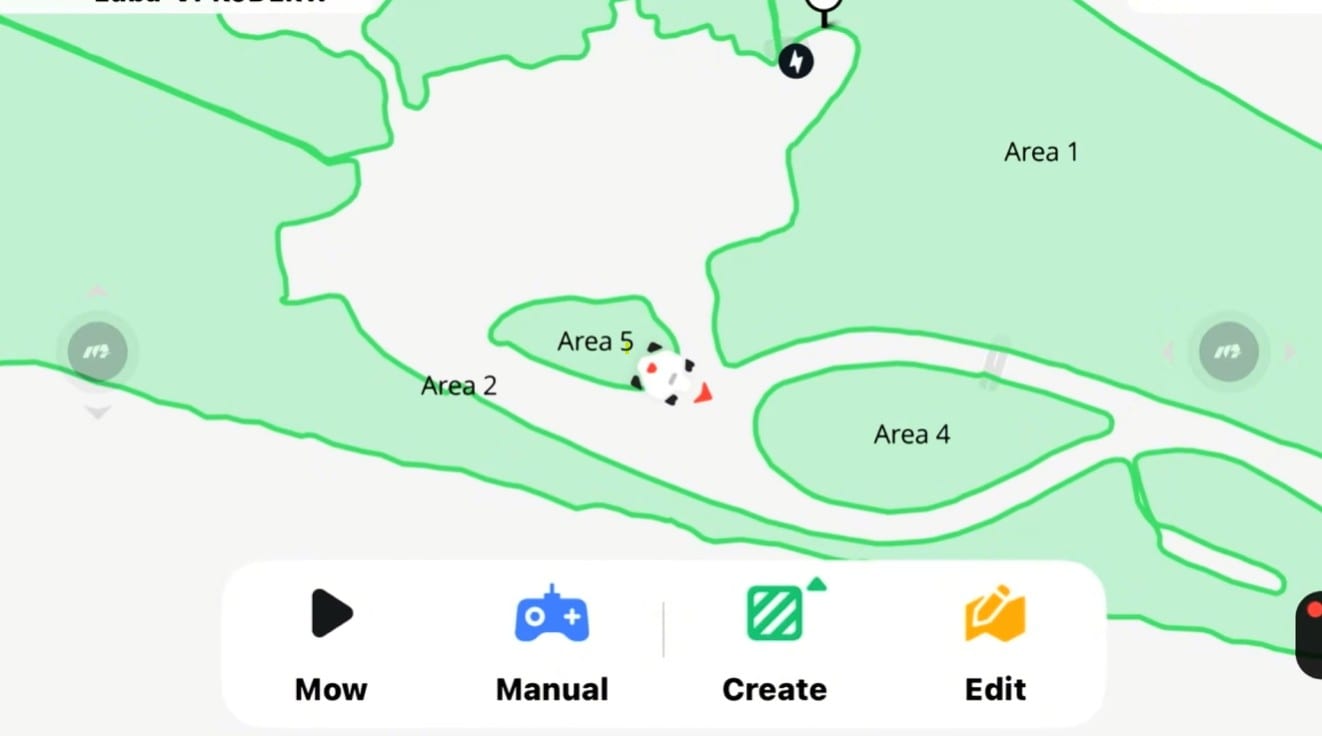
Mapping is where an average setup and a great one separate. Take your time on the boundary, run channels straight between zones so daily traffic doesn’t rut a curve into the grass, and draw no-go zones around everything that can eat a mower: downspouts, exposed roots, the trampoline legs, that muddy spot by the spigot. The full list of mapping mistakes to avoid is here, and Navimow owners can follow the step-by-step mapping walkthrough.
Set the cutting height a notch or two higher than you think you want. On ground the mower hasn’t taught you about yet, a low setting scalps the high spots. You’ll step down later.
Week 1: build the schedule — five settings decide everything
Mapping does not create a schedule, and this is where most “my new mower won’t mow” calls come from. In order:
- Turn the master schedule toggle on. It ships off.
- Know the end-time trap: the schedule is a window, and the end time is a hard cutoff — the mower stops and docks whether the lawn is done or not. Size the window to the real mow time plus recharge.
- Set the Mowing Cycle toggle deliberately. ON refills the whole window by re-mowing; OFF means one complete pass, then park. If a mower “keeps mowing grass it already cut,” this toggle is why.
- Respect the 90% battery rule: a scheduled run won’t start below 90% charge, so leave breathing room between back-to-back zone sessions.
- Aim the window at dry grass — late morning through afternoon, not the dew-soaked overnight hours that clump the deck and tear the cut.
All five, with the zone-by-zone recipe, are in the scheduling guide — and the honest trade-offs of overnight runs are in the night-mowing post.
Then let it run daily. Little-and-often is the entire design — it’s also what grows a thicker lawn than a weekly cut ever did.
Week 2: the first check-in
- Flip it into cleaning mode and look at the deck. Two weeks of learning your lawn (and probably some damp mornings) will have started packing clippings around the discs. The five-minute cleaning routine is here — air brush or compressed air, never a pressure washer.
- Walk the yard behind it. Anywhere it struggled, rubbed, or shouldn’t have gone gets a no-go zone or a boundary tweak now, while the map is fresh in your head.
- Step the cutting height down one notch if nothing scalped. Repeat weekly until you find the lowest setting your ground allows.
Weeks 3–4: judge the cut, not the mower
By now the lawn should be settling into the dense, even, always-mowed look. If something’s off — brown tips a few days after mowing, stragglers, a strip that never gets done — don’t guess: work the seven-point cut-quality checklist. And keep one eye on the edges: a mower that misses the same strip every pass is telling you about its antenna, not its blades.
Day 30–45: your first blade change
With daily mowing, blades are done in 4–6 weeks — so your first change lands right about now, whatever the cut looks like from a distance. OEM blades, the new screws from the pack, snug but still swinging (Mammotion owners, your version is here). Skip the gold “titanium” ones — we tested them and OEM won every measurement. Set a recurring reminder; the interval is the whole game.
The checklist, on one screen
- ☐ Antenna spot chosen for sky, not convenience
- ☐ Knockdown cut before first mowing
- ☐ Boundary, channels and no-go zones mapped carefully
- ☐ Height set high to start
- ☐ Schedule ON, window sized right, Mowing Cycle set, dry-hours window
- ☐ Week 2: deck check, yard walk, height step-down
- ☐ Weeks 3–4: cut-quality check, watch the edges
- ☐ Day 30–45: first blade change, new screws, reminder set
Want the deeper version? The free Navimow Owner Course turns all of this into a 6-module curriculum with the companion videos, and the Robotic Lawn Mower Owner’s Handbook is the whole first year in one book.
Get help with your robot mower
Zippy Lawnz is an authorized dealer and service center for Segway Navimow, Mammotion, and Yarbo, with nationwide sales and remote support and hands-on installs across Pennsylvania, New Jersey, Maryland, Delaware, Virginia, and Colorado. If you’d rather have month one done for you — mapped, tuned and running — that’s literally our job.
- 📍 Check my lawn — free — your lawn’s real size, slope and satellite sky view, measured in about two minutes.
- 🗺️ Book a free site assessment — we’ll pull up your address, plan the antenna and dock, and quote the whole install.
- 📞 Call or Text Us: 410-725-7500
Month one: antenna first · knockdown cut · careful map · schedule ON in a dry window · week-2 deck check · height step-downs · blades at 4–6 weeks with new screws
Frequently asked
What should I do first when my robot mower arrives?
Two things before the robot ever mows: pick the RTK antenna spot (height, open sky, rigid mount — not automatically next to the dock), and give the lawn one last short cut with your old mower. That knockdown cut matters — a robot mower shaves a little daily and isn't built to fight a shaggy lawn on day one, and mapping is easier and more accurate on short grass.
How long until the lawn looks good with a robot mower?
Give it two to three weeks of daily mowing. The little-and-often rhythm is what produces the dense, always-mowed look, and the lawn needs a couple of cycles to even out from its old weekly-cut pattern. If it still isn't crisp after week three, work the cut-quality checklist — it's almost always blades, height, deck buildup, or a wet-grass schedule.
When is a robot mower's first blade change?
Four to six weeks in with daily mowing, so it lands right at the end of your first month. Use OEM blades, always install the new screws that come in the pack, and spin each disc afterward to confirm every blade swings freely. Set a recurring reminder — the interval matters more than any blade brand.
Do I need to babysit a new robot mower?
No — but don't ignore it for a month either. Plan three short check-ins: end of week one (schedule running in a dry window, no clumps), end of week two (quick deck check, walk the yard for spots that need a no-go zone), and end of week four (first blade change, look for missed edges). After that it's about twenty minutes of care a month.
Keep reading
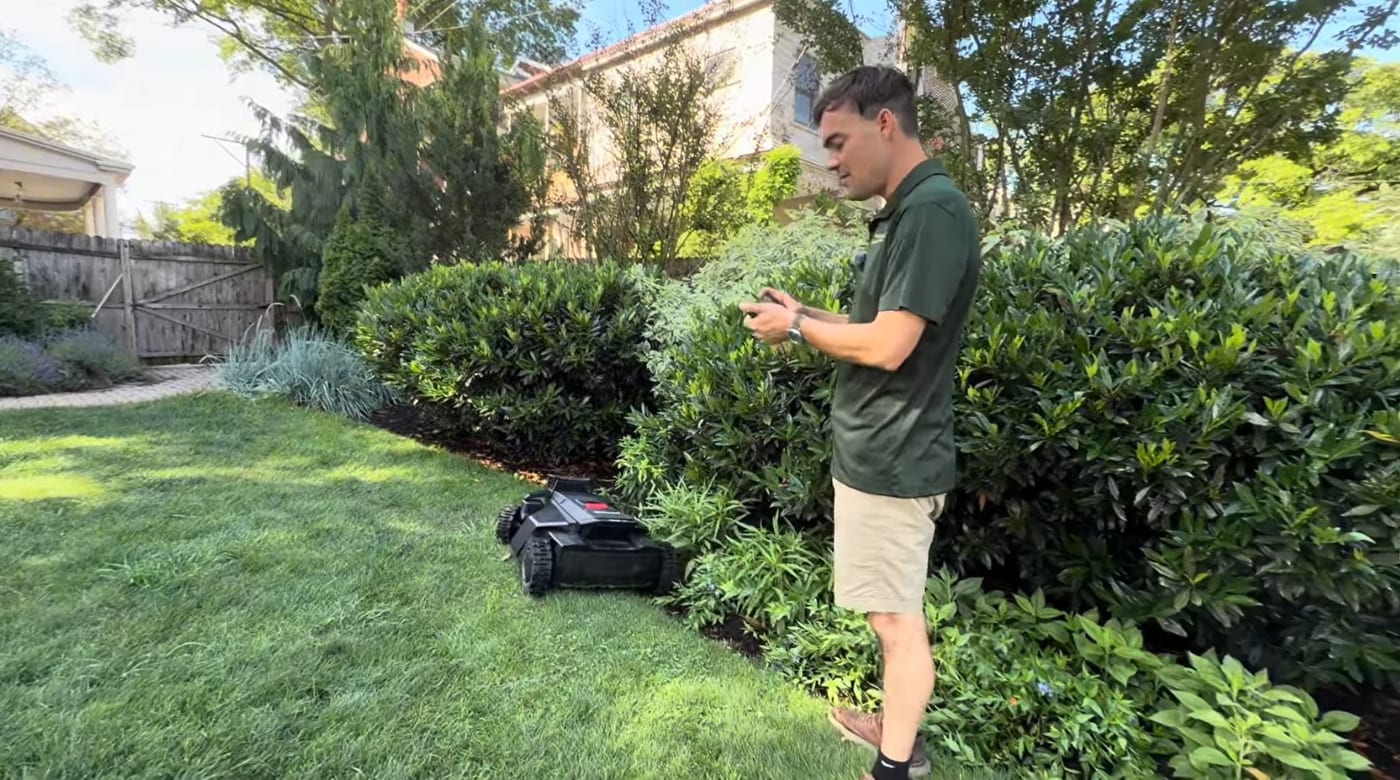 Installation & Setup10 Robotic Lawn Mower Mapping Tips (Avoid Costly Mistakes)Mapping makes or breaks a robot mower — most problems trace back to it. 10 tips on dock placement, channels, no-go zones, virtual fences, RTK signal and more.
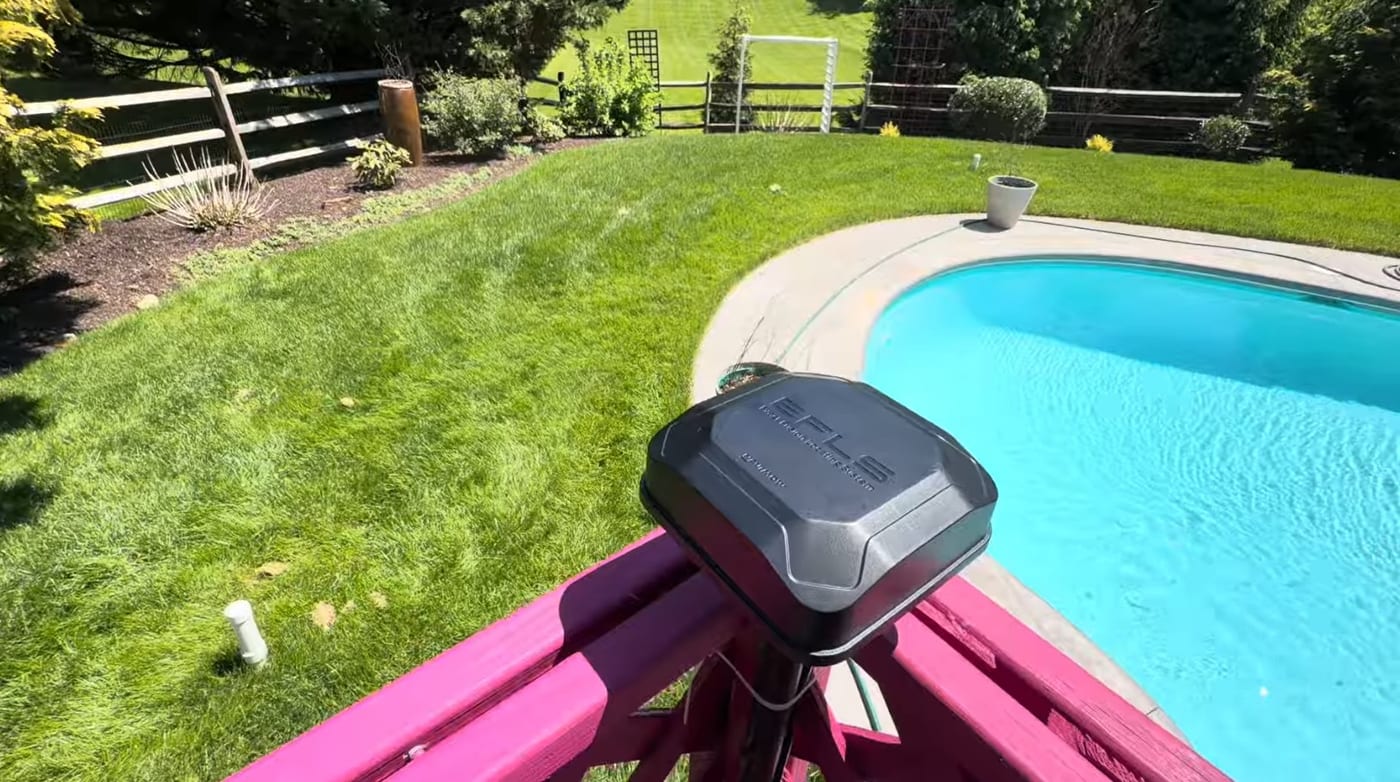 Installation & SetupWhere to Install Your Robot Mower's RTK Antenna (4 Rules)Mount your robot mower's RTK antenna wrong and it drifts after a season. The 4 rules of RTK placement — open sky, height, rigid mounting, and reflective surfaces.
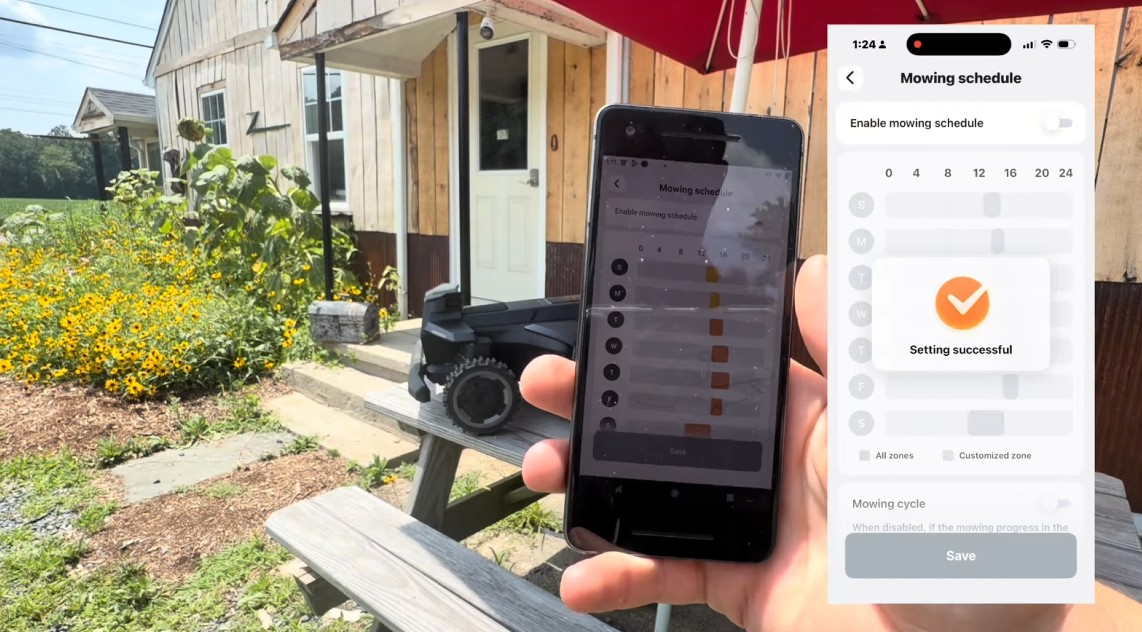 Tips & MaintenanceNavimow Scheduling Explained: End Times, Cycles & ZonesHow Navimow mowing schedules really work — the end-time trap, the Mowing Cycle toggle, the 90% battery rule, and how to build a zone-based weekly schedule.
Explore the system
The mowers and pages behind this topic — see them sized to your yard.