
How to Map Your Lawn With a Navimow (And How Long It Takes)
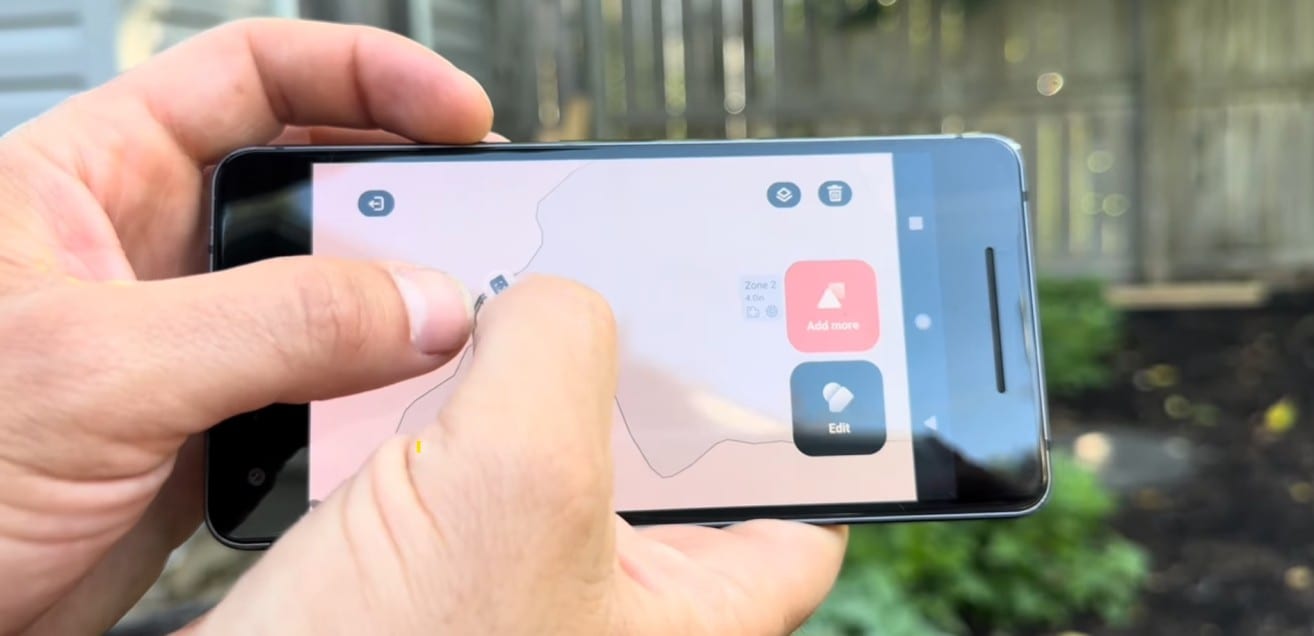
Mapping is the one part of a robot mower install you can’t undo by pressing a button.
Everything else on a Navimow is forgiving. Wrong cutting height? Change it in the app. Schedule not working? Adjust it. But your map is the foundation the machine builds on for the next several years, and a bad one follows you around — the strip along the driveway it never quite reaches, the corner it won’t enter, the zone it can’t get to because the channel is two inches too narrow.
The good news is that mapping isn’t hard. It’s just order-dependent. Do the steps in the right sequence and you’ll do it once.
We’re an authorized Segway Navimow dealer, and we’ve mapped a lot of these — everything from quarter-acre suburban lots to multi-acre properties on the Eastern Shore. This is the process we actually use on customer installs, in the order we use it.
First: how long does this take?
This is the question every customer asks before anything else, so let’s get it out of the way.
There’s a fact here that surprises people, and it’s genuinely good news if you have a big lawn: perimeter scales with the square root of area, not with area. Four times the lawn is only about twice the perimeter. Going from a quarter acre to a full acre roughly doubles your mapping time — it doesn’t quadruple it.
Here’s the geometry:
| Lawn size | Perimeter (perfect square) | Realistic irregular perimeter |
|---|---|---|
| ¼ acre | 418 ft | 500–600 ft |
| ½ acre | 591 ft | 700–850 ft |
| 1 acre | 835 ft | 1,000–1,250 ft |
| 2 acres | 1,181 ft | 1,400–1,800 ft |
At a realistic mapping pace — around 60–75 feet per minute, which accounts for hesitation, corrections, and slowing down at corners — that works out to about 8 minutes of perimeter driving for a quarter acre, 11–13 for a half, 15–19 for an acre, and 22–28 for two.
But perimeter driving is a minority of the total install time. What actually eats the clock: walking the property first (10–15 min), dock and RTK setup (30–45 min — one-time, and it doesn’t scale with lawn size), each no-go zone (2–4 min), each channel (~5 min), and zone settings plus scheduling (~10 min).
Realistic totals: a simple half acre is about 1.5 hours, a typical acre 2 to 2.5 hours, a complex two acres 3 to 4 hours.
Estimate (±25%) — dock & RTK setup (~40 min) is one-time and doesn't scale with lawn size. Shape complexity beats acreage: count your obstacles, not just your acres.
📍 Plan your zones & no-gos on satellite first — free →The number that actually predicts your time
Shape complexity beats acreage. Every time.
A quarter-acre yard with eight flowerbeds, a pool, a swing set, and a garden shed will take longer to map than a flat, open acre with nothing in it. When someone asks us “how long for an acre,” the real answer is a question back: how many things are in it?
Count your obstacles before you count your acres.
Step 1: Plan before you touch the mower
The single biggest difference between a two-hour install and a five-hour install is whether you had a plan.
Before you unbox anything, pull up your property from above and answer these questions:
- How many zones do you actually have? Front and back separated by a house? That’s two zones. Side yard connected by a gate? Maybe a channel.
- Where would a channel run? Look for the narrowest point on any route between zones. Measure it mentally. If it’s tight, it’s your constraint.
- What are your no-go candidates? Tree rings, flowerbeds, pond edges, the spot that stays wet after rain.
- Where does the dock go? It needs power, sky, and level ground. Solve this now, not while holding the box.
We built a free tool for exactly this — pull up your property on satellite, trace your zones, mark your no-go areas, spot your channel routes, all before the mower leaves the box: Zippy Lawn Mapping.
Then go walk it. Physically. This matters more on bigger properties than most people expect. You’ll find things the satellite view doesn’t show you — the drainage swale, the exposed root, the drop-off that looks like a gentle slope from 200 feet up. Fifteen minutes of walking saves you an hour of re-mapping.
Step 2: Charging station placement
The dock is the machine’s home base, and a bad location creates problems in every step downstream.
What it needs:
- Clear sky above. The dock area needs to see satellites. Under a deck, under dense tree canopy, tight against the house — all bad.
- Level, firm ground. Not soft mulch that shifts. Not a slope.
- Power access, with the cord routed where you won’t hit it with a trimmer.
- Clean approach path. The mower needs a straight, unobstructed run at the dock. Give it room.
Take the extra ten minutes here. A dock in a marginal spot means docking failures forever, and docking failures are the number one support call in this category.
Step 3: RTK antenna setup
RTK is what makes this whole category work. It’s the difference between a mower that knows where it is within a couple of centimeters and one that wanders.
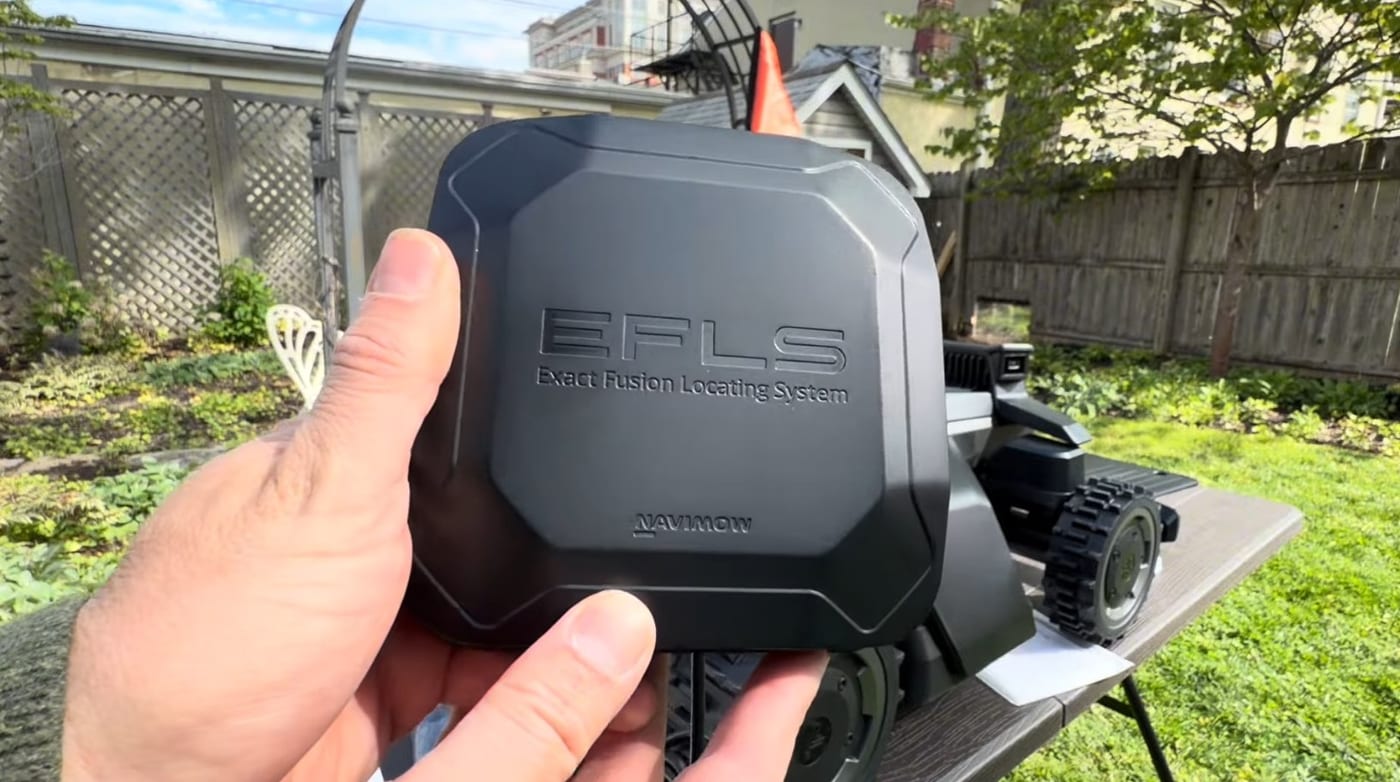
What matters:
- Height. Get it up. Higher is better.
- Clear sky in every direction. No eaves, no overhang, no branch shadow. The antenna needs a wide open view.
- Distance from the dock — check your model’s spec and respect it.
- Verify signal in the app before you map anything. Don’t map on a marginal signal and hope.
The failure mode here is subtle and worth understanding: a marginally-placed RTK antenna doesn’t fail outright. It works most of the time, and then it drifts on cloudy days, or when the trees leaf out in spring, and you spend a season blaming the mower. Get it right on day one and you forget it exists. (We wrote a whole guide on where to put the RTK antenna — and our mapping tool’s sky-view check shows which side of your roof has the clearest sky before you drill anything.)
If the signal quality reading in your app is anything less than strong, move the antenna. Don’t proceed. This is the step where impatience costs the most.
Step 4: Map your first zone perimeter
Now you drive.
Go slow. Slower than feels necessary. You’re not walking the dog — you’re steering a machine along an edge with centimeter precision. Rushing here is the single most common mistake, and it’s the one you pay for every week for years.
Get the wheel over the edge. This is the technique that separates a good map from a frustrating one. Where you want the mower to cut all the way to the boundary, the drive wheel goes right to the edge. Timid mapping produces a perimeter that leaves an uncut ribbon everywhere, and then you’re back out with a trimmer — which defeats the entire point of owning the thing.
But know your edges:
- Hard edges (driveway, curb, patio, sidewalk) — get right up on them. The mower deck overhangs, and hard surfaces are safe.
- Drop-offs, retaining walls, water — stay back. Give yourself a real buffer. This is not where you optimize.
- Beds and mulch lines — go to the edge of the grass, and be honest about where the grass actually ends.
Corners. Don’t cut them short and don’t round them off by accident. Slow down, square them up, keep going.
Close the loop cleanly back to your starting point, then save and name the zone. Use a name that means something — “Front Yard,” not “Zone 1.” You’ll thank yourself when you’re building the schedule.
Step 5: Add your no-go zones
No-go zones are how you tell the mower “this is inside the boundary, but stay out.”
Drive the mower up to the area — a tree ring, a flowerbed, a garden feature — and define it. Give yourself a reasonable buffer. Tight no-gos look elegant on the map and cause bump-and-retry behavior in real life.
What deserves a no-go: flowerbeds and garden beds, tree rings and exposed roots, ponds, water features and pool surrounds, anything permanent you don’t want touched, soft spots that stay wet.
What doesn’t: temporary objects (the sensors handle a stray toy or a hose), things you’ll move next week — and every single small obstacle, if you’re going to end up with twenty of them.
That last point is worth sitting with. There’s a temptation to no-go everything, and it produces a map so fragmented the mower spends its time navigating instead of cutting. Use no-gos for permanent things. Let the sensors do their job on the rest.
Step 6: Map your second zone
Same technique. Front yard, back yard, side yard — whatever’s separated from zone 1.
Nothing new here, which is the point: once you’ve got the perimeter technique down, additional zones are fast. Name it clearly and move on.
The reason we’re doing this now is that you can’t build a channel without two zones to connect.
Step 7: Create a channel between zones
A channel is a mapped pathway that lets the mower travel from one zone to another. Without one, your zones are islands, and you’re carrying the mower between them by hand — which nobody does more than twice.
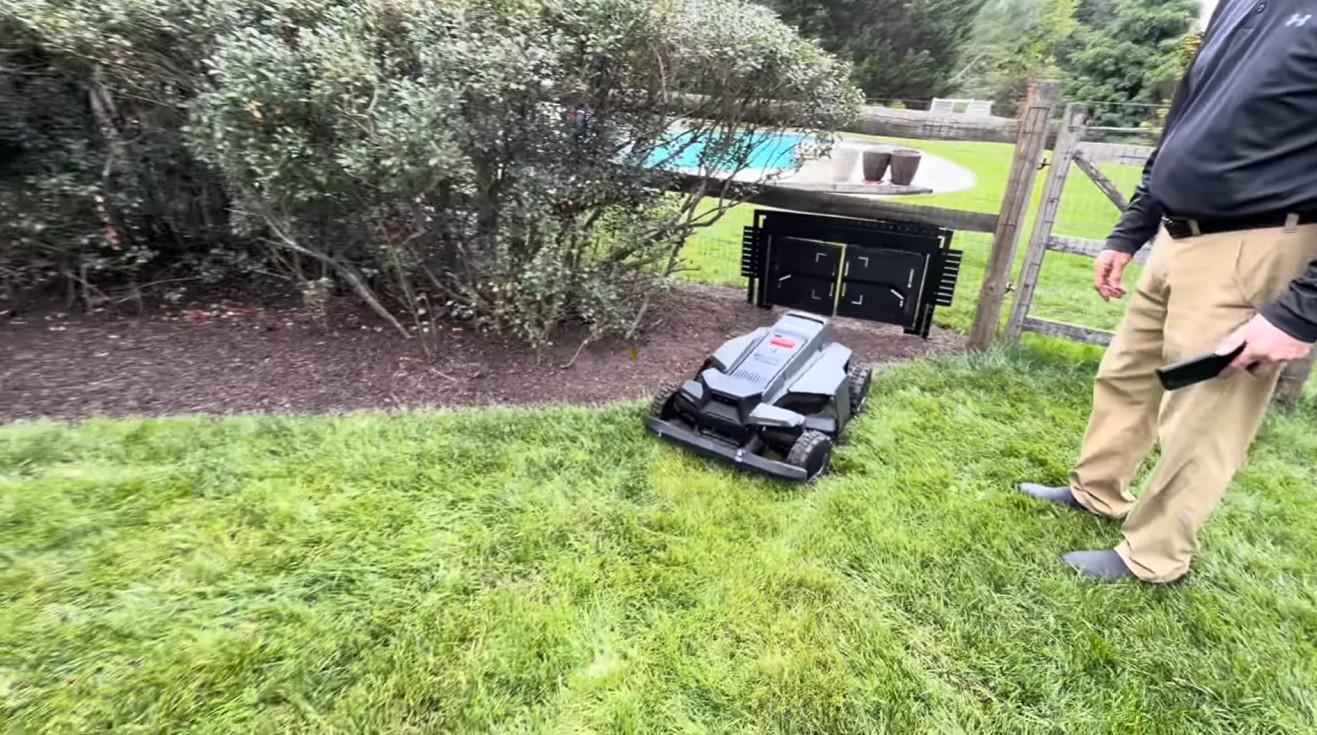
What matters:
- Width. Check the minimum spec for your model and then give yourself margin beyond it. A channel at exactly the minimum is a channel that fails when the mower approaches at a slightly imperfect angle. This is the single most common channel mistake.
- Entry and exit angles. The mower needs to enter and leave without a sharp turn. Straight, gentle transitions.
- Gates and pinch points. If your route goes through a gate, that gate’s width is your constraint. Measure it. If it’s marginal, find another route or plan to leave the gate open.
- Surface. Channels can cross non-grass surfaces, but know what your model handles.
Test it. Send the mower through before you consider it done. A channel that looks right on the map and fails in practice is worth finding out about now, while you’re standing there, rather than at 6 AM on a Tuesday when the mower gets stuck.
Step 8: Zone settings
Now that the map exists, tell the mower how to treat each part of it.
- Cutting height — can differ per zone. Front yard shorter for looks, back yard higher for durability. That’s a real strategy.
- Mowing pattern — direction and style.
- Edge cutting behavior — how aggressively it works the boundary.
- Zone priority — which zone matters most.
The point of zones isn’t just navigation. It’s that different parts of your property have different jobs. A shaded back corner and a full-sun front lawn genuinely want different treatment.
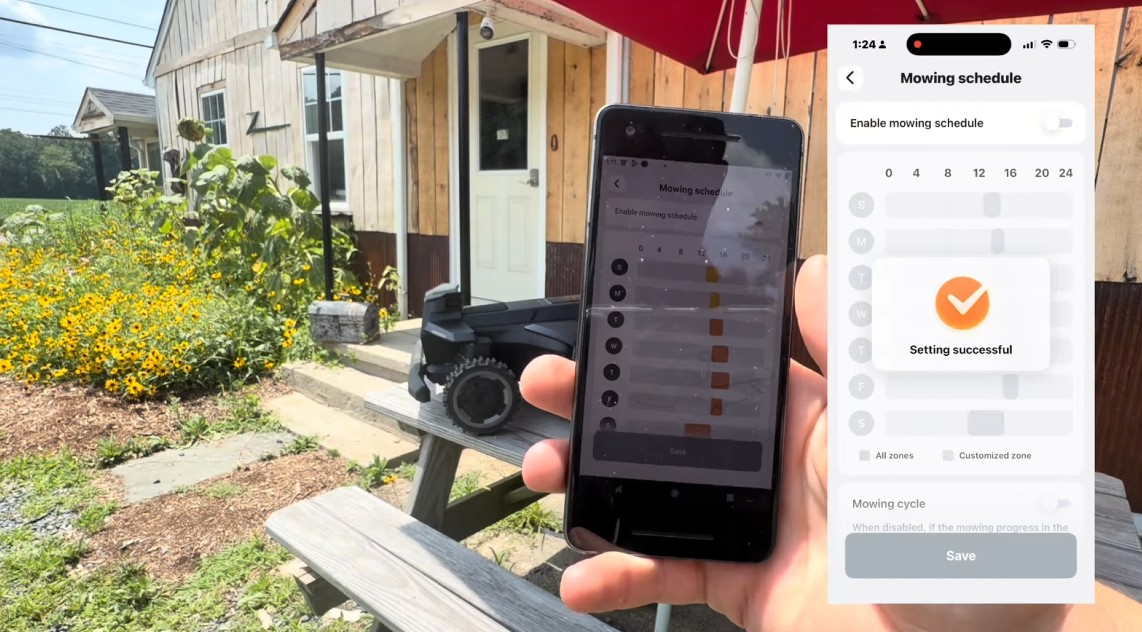
Step 9: Build and sequence your schedule
- Frequency — match your grass’s actual growth rate, not a default. Spring and fall grow fast. August, in most of our service area, doesn’t.
- Zone order — which zone runs first? Usually the one that matters most visually, or the one that’s easiest to reach from the dock.
- Rain delay — turn it on. Wet grass cuts badly and tracks up your lawn.
- Quiet hours — be a good neighbor. This category has a reputation to protect, and a mower running at 5 AM in a tight neighborhood is how it gets a bad one.
- Overlap — the mower doesn’t need to cut every blade every day. Consistent frequent passes beat occasional aggressive ones.
The philosophy shift here is real: robotic mowing isn’t “cut the lawn on Saturday.” It’s a little bit, all the time, so the lawn never gets long enough to notice. Set the schedule accordingly.
Step 10: Two weeks later — edit your edges
Here’s the step nobody tells you about, and it’s the one that separates a good install from a great one.
Run the mower for two weeks. Then go look at your lawn.
You will find things. A strip along the fence it doesn’t quite reach. A corner it approaches but doesn’t enter. An area you mapped conservatively because you weren’t sure, and now you’re sure.
This is normal. This is expected. Your first map is a hypothesis, and two weeks of operation is the experiment.
Go back into the map and expand the boundary where you want more coverage. Adjust the no-go that turned out to be bigger than it needed to be. Nudge the channel entry that’s causing hesitation.
Your map is a living document. The people who love these machines are the ones who understand that. The people who get frustrated are the ones who think the map is done on day one and then live with its flaws for three years.
The short version
- Plan first — aerial view, walk the property, know your zones
- Dock: sky, level, power, clear approach
- RTK: high, clear sky, verify signal before mapping
- Perimeter: slow, wheel over the edge, respect drop-offs
- No-gos: permanent things only, reasonable buffers
- Second zone: same technique
- Channel: wider than minimum, gentle angles, test it
- Zone settings: different areas, different jobs
- Schedule: frequent and light, rain delay on, quiet hours set
- Two weeks later: edit your edges
Budget about two hours for a typical acre. Count your obstacles, not just your acreage. (For the mistakes to avoid along the way, read our 10 mapping tips next.)
Need help with yours?
Zippy Lawnz is an authorized robotic mower dealer and service center for Segway Navimow, Mammotion, and Yarbo, with nationwide sales, shipping and support — plus hands-on install, mapping and service across Pennsylvania, Delaware, Maryland, Virginia, and Colorado. We sell them, install them, map them, and support them — and we run them on our own properties.
If you’ve got a complicated lot and you’re not sure whether it’s a good fit, that’s exactly the conversation we like having. Reach out — or start with the free planning tool: app.zippylawnz.us.
Frequently asked
How long does it take to map a lawn with a Navimow?
Budget about 2 hours for a typical acre, all-in. The perimeter driving itself is only 15–19 minutes at a realistic pace — the clock mostly goes to one-time setup (dock and RTK, 30–45 minutes), walking the property first, no-go zones, channels, and scheduling. A simple half acre runs about 1.5 hours; a complex two acres, 3–4.
Does a bigger lawn take proportionally longer to map?
No — and this surprises people. Perimeter scales with the square root of area, so four times the lawn is only about twice the boundary driving. Going from a quarter acre to a full acre roughly doubles mapping time, it doesn't quadruple it. Shape complexity predicts your time better than acreage: count your obstacles, not your acres.
Can I change a Navimow map after it's done?
Yes — and you should. Run the mower for two weeks, then edit: expand the boundary where it leaves a strip, shrink the no-go that was bigger than needed, nudge the channel entry that causes hesitation. Your first map is a hypothesis; treat it as a living document rather than something carved in stone on day one.
How close to the edge should I map the boundary?
Depends on the edge. On hard, safe edges — driveway, curb, patio — put the drive wheel right on the line so the deck overhangs and cuts to the boundary; timid mapping leaves an uncut ribbon you'll be trimming by hand forever. On drop-offs, retaining walls and water, do the opposite: stay back and keep a real buffer.
How wide does a Navimow channel between zones need to be?
Wider than the minimum spec — a channel at exactly the minimum fails whenever the mower approaches at a slightly imperfect angle, and that's the most common channel mistake. Give yourself margin, keep entry and exit angles gentle, and send the mower through to test it before you call it done. If the route runs through a gate, the gate's width is your real constraint.
Keep reading
 Tips & MaintenanceNavimow Scheduling Explained: End Times, Cycles & ZonesHow Navimow mowing schedules really work — the end-time trap, the Mowing Cycle toggle, the 90% battery rule, and how to build a zone-based weekly schedule.
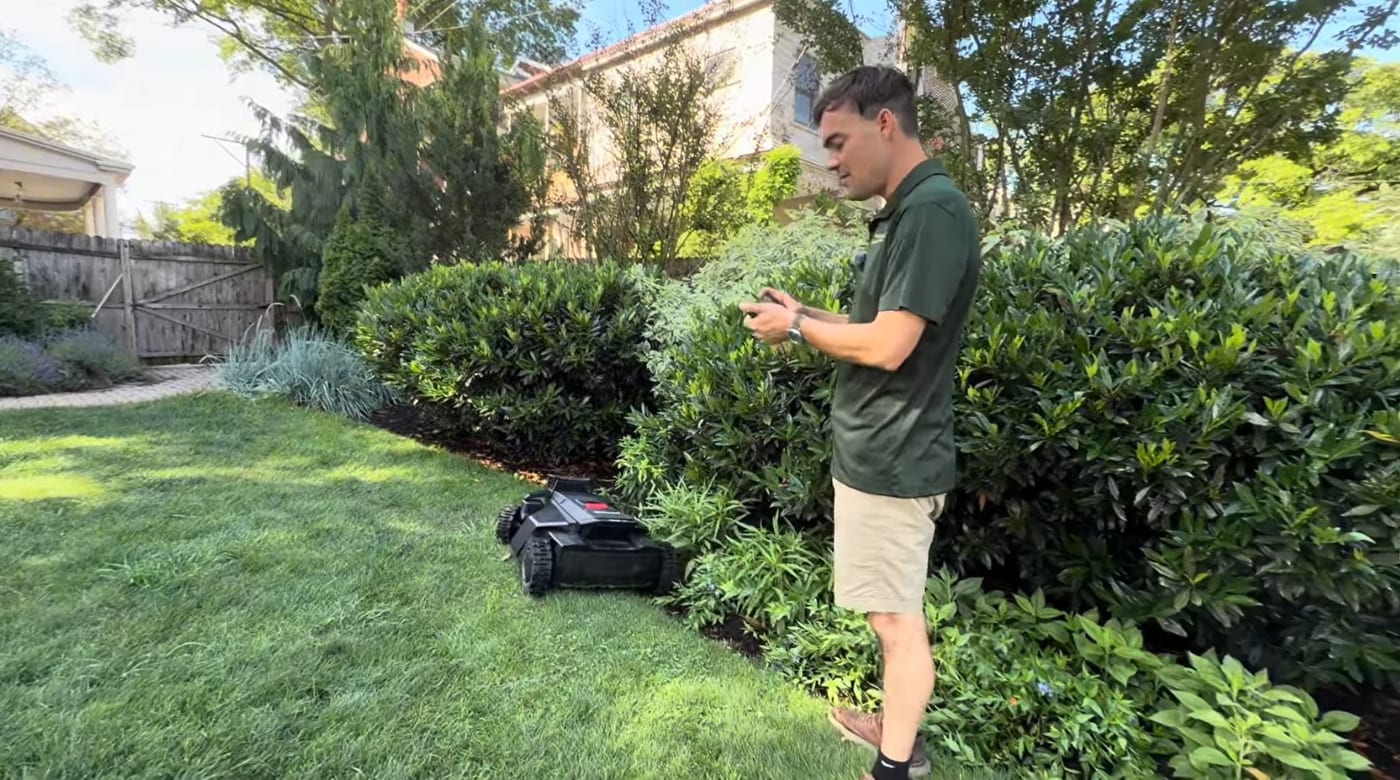 Installation & Setup10 Robotic Lawn Mower Mapping Tips (Avoid Costly Mistakes)Mapping makes or breaks a robot mower — most problems trace back to it. 10 tips on dock placement, channels, no-go zones, virtual fences, RTK signal and more.
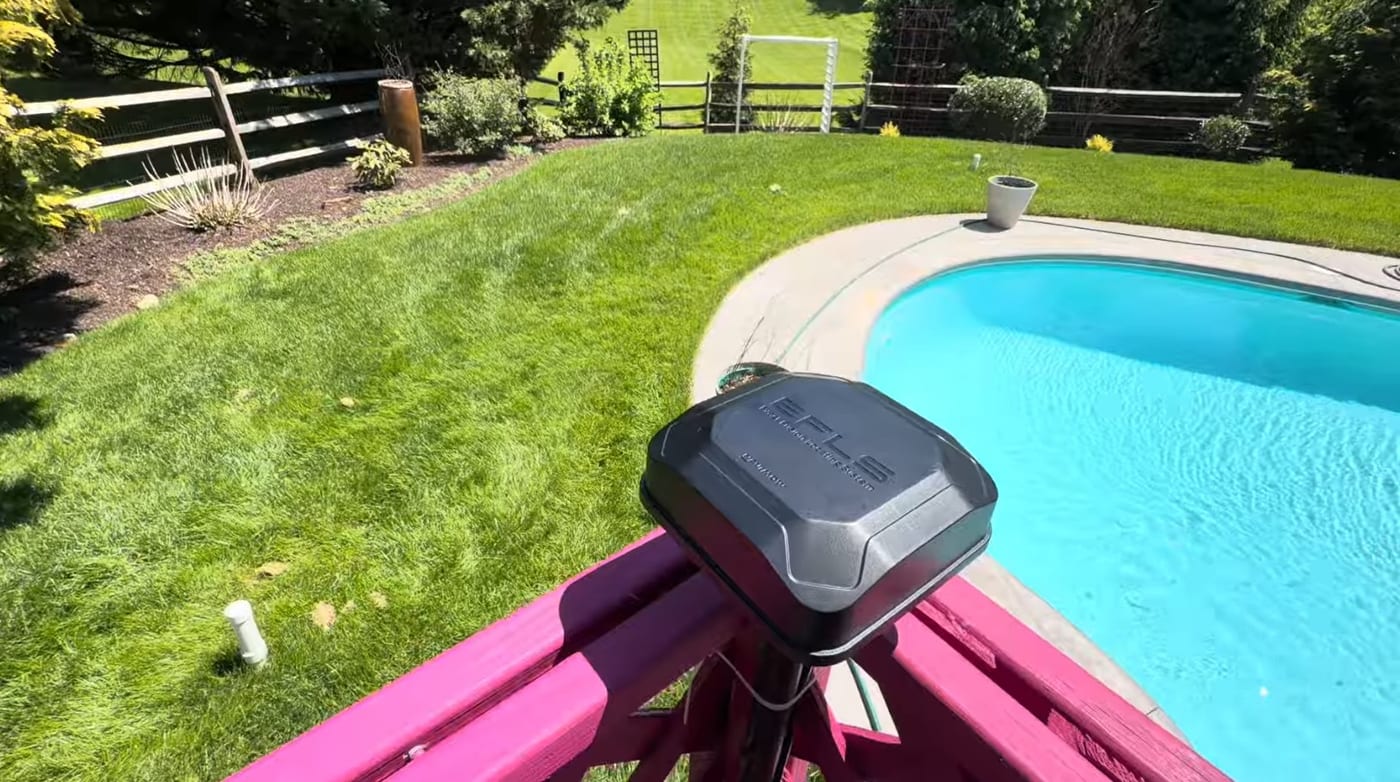 Installation & SetupWhere to Install Your Robot Mower's RTK Antenna (4 Rules)Mount your robot mower's RTK antenna wrong and it drifts after a season. The 4 rules of RTK placement — open sky, height, rigid mounting, and reflective surfaces.
Explore the system
The mowers and pages behind this topic — see them sized to your yard.