
10 Robotic Lawn Mower Mapping Tips (Avoid Costly Mistakes)
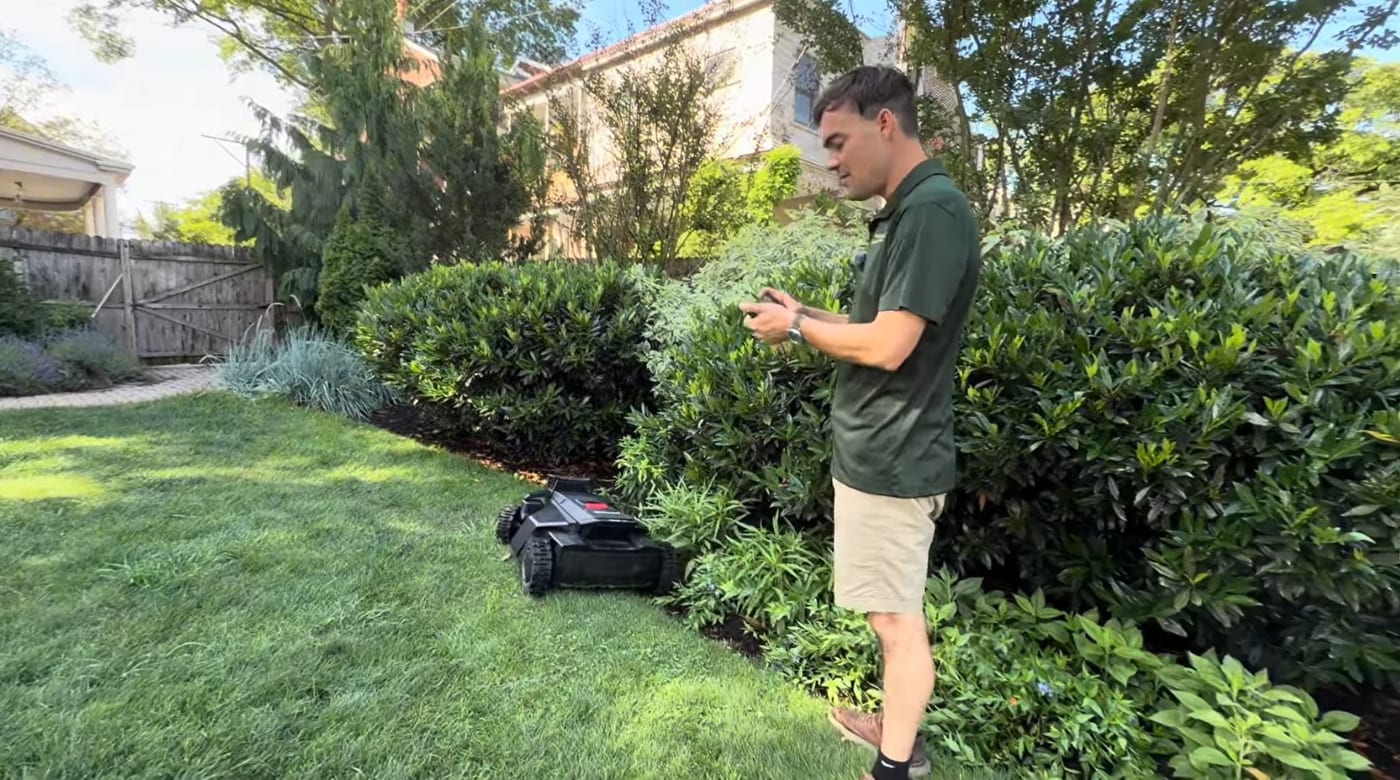
Here’s the thing almost nobody tells you before you buy a robot mower: the machine is rarely the problem — the map is. In our experience installing these across PA, NJ, MD, DE, VA and CO, roughly 80% of the headaches people have with robot mowers trace straight back to how the lawn was mapped. Wrong-size machine, a channel worn into a rut, a schedule that can’t keep up, an antenna in the wrong spot — all mapping.
Get the map right and these things basically run themselves. Here are the 10 mapping tips we walk every customer through — and the costly mistakes each one avoids.
1. Know your real mowable square footage (and the mapping cap)
The mistake: buying a mower rated for “up to X acres” without knowing your actual mowable square footage — the grass only, minus the house, beds, driveway and pond. People routinely over- or under-buy, then find the mower can’t keep up (or that the lawn is bigger than the model’s maximum mappable area).
The fix: get an accurate mowable number first, then match the machine to it. Every robot mower has a working-area rating, and most also have a hard map-size cap — a ceiling on total area or number of zones. Know both before you spend a dollar. (This is exactly what our free check-my-lawn tool does — it measures the grass from satellite in about two minutes.)
2. Put your charging dock in the right place
The mistake: tucking the dock wherever there’s an outlet — often a low, wet corner or the bottom of a slope.
The fix: the dock wants a flat, dry spot with a clear straight exit and, for satellite mowers, open sky overhead so it re-acquires signal instantly when it undocks. Keep it out of foot-traffic paths, away from sprinkler spray, and central enough that the mower isn’t burning half its battery just getting to the far zone. A good dock location quietly prevents a dozen downstream problems.
3. Keep your channels straight (and avoid ruts)
The mistake: narrow, winding channels — the connecting paths the mower uses to travel between zones. Drive the same crooked line a thousand times and you grind a muddy rut into the lawn.
The fix: make channels as straight and as wide as the space allows, and turn on your app’s channel-width or path-variation setting so the mower doesn’t wear one exact groove. If a passage is unavoidably tight (a side yard between the house and fence), that’s fine — just widen it where you can and let the mower vary its route.
4. Map clean boundary lines
The mistake: jerky, over-detailed boundaries that hug every wobble in the bed edge, or boundaries mapped too close to a hard edge so the mower clips a fence or drops a wheel off a wall.
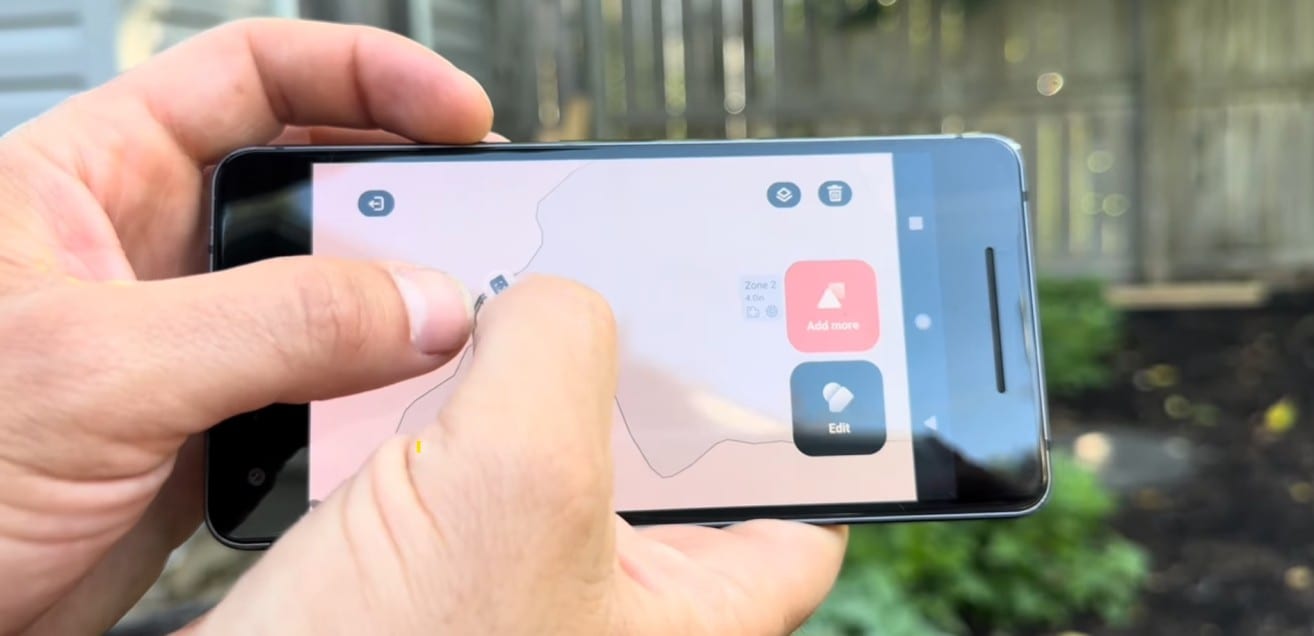
The fix: map at a steady, walking pace with smooth lines. Give hard edges (walls, drop-offs, ponds) a small safety margin, and don’t over-vertex gentle curves — the mower follows a clean line far more reliably than a shaky one. A tidy boundary is the single biggest factor in a clean edge cut.
5. No-go zones vs. boundaries — the square-footage trick
The mistake: treating every obstacle the same way, and not realizing that how you exclude something can change your mapped area.
The fix: use the right tool. A boundary is the outer edge; a no-go zone is an island inside it — a flower bed, tree ring, pond, or trampoline. Here’s the trick most people miss: on some machines, everything inside the outer boundary counts toward the working-area cap — including the no-go holes. So a big excluded pond can eat into your cap even though it’s never mowed. On those mowers it’s smarter to route the boundary around a large excluded area than to island it with a no-go zone. Getting this right keeps your true mowable square footage honest.
6. When to use a virtual fence
The mistake: reaching for a full no-go polygon (or giving up) when all you need is a single line.
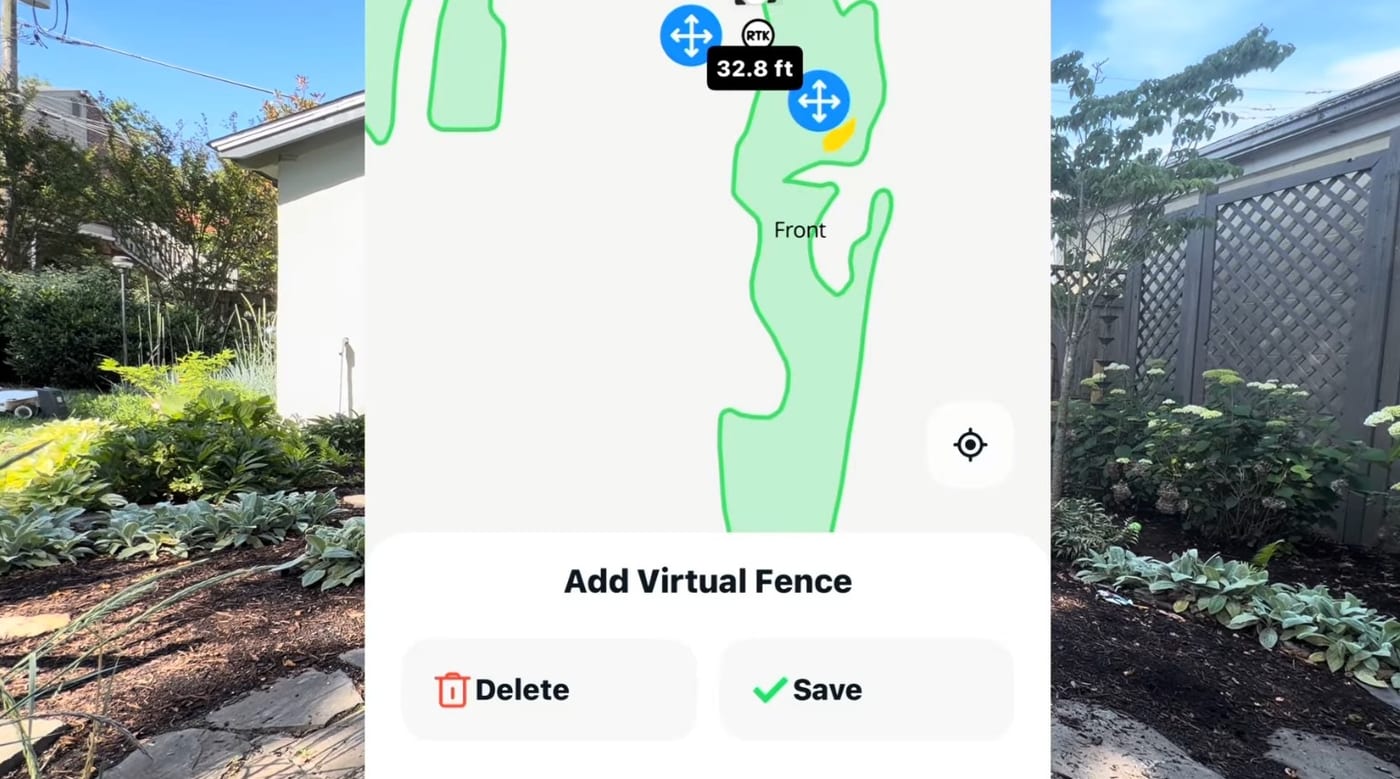
The fix: a virtual fence is a line you draw to close an opening (an open driveway lip, a gap in a hedge) or to split one area into separate zones where there’s no physical edge. It’s the lightweight tool for “keep the mower on this side of this line” — cleaner than boxing the whole thing out.
7. Build zones into a real 7-day schedule
The mistake: one giant zone and a “mow every day” setting — then the mower can’t finish, the far corners get shaggy, and the battery math never adds up.
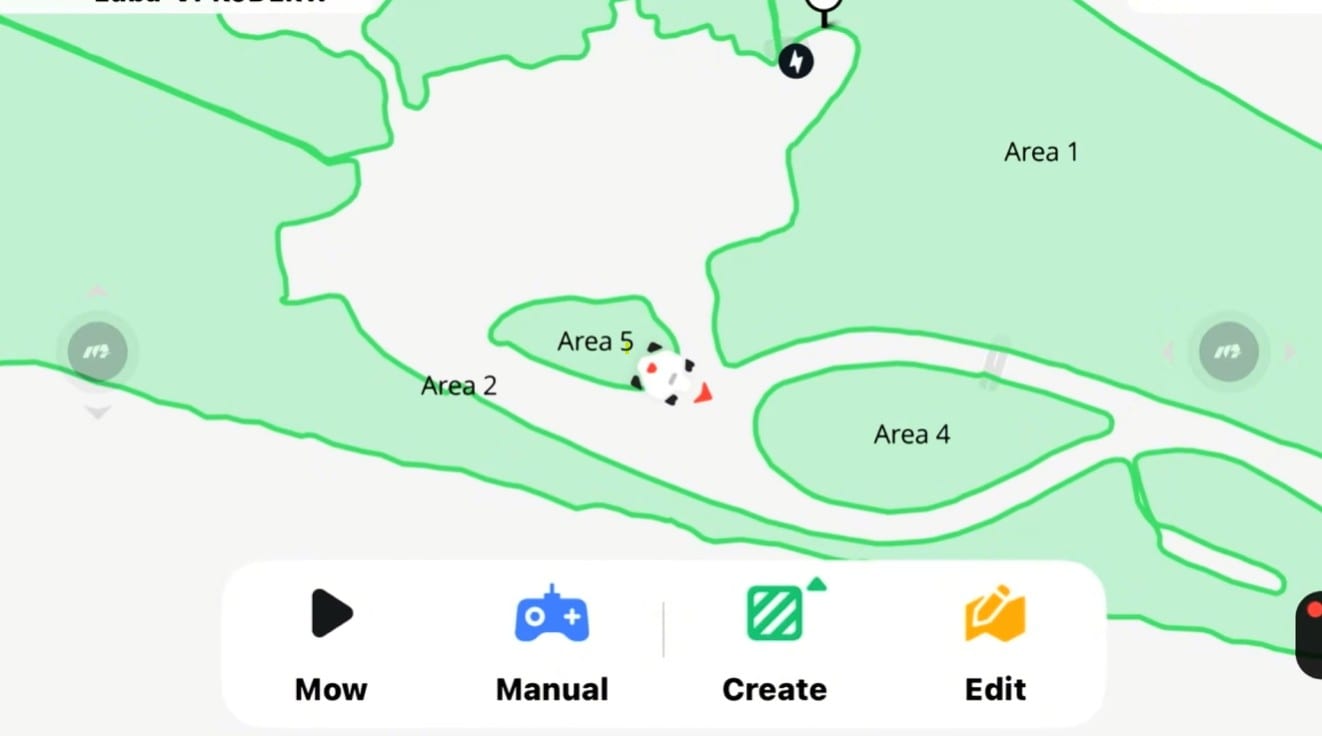
The fix: break the lawn into logical zones and spread them across the week — front Monday/Thursday, back Tuesday/Friday, side yard Wednesday. Zones let the mower finish each area properly and recharge between them, and they give you room to add a rain-backup day. (How much a mower can realistically cover in a session comes down to battery and run-time — we break that down in how long a robot mower battery lasts.)
8. Signal & antenna placement
The mistake: an RTK antenna mounted low, under an eave, or half-shaded by a tree — so the mower drifts, pauses, or refuses to leave the dock.
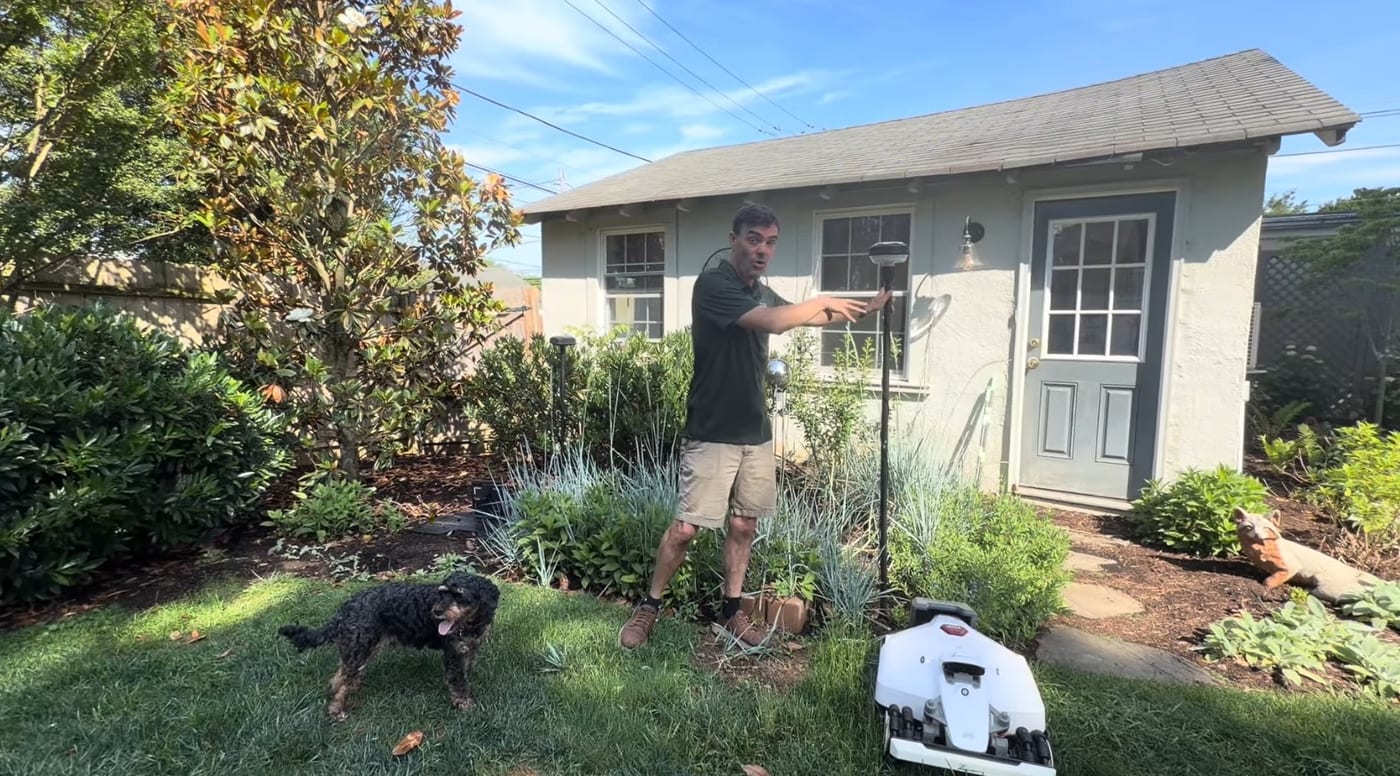
The fix: most satellite mowers (Segway Navimow, older Mammotion LUBA) need the RTK antenna high and in the open — a roof, gable, or tall pole — with a clear view of the sky, away from the mowing area, on a stable mount, and within the model’s distance limit from the dock. It’s worth getting exactly right — our full guide on where to install your robot mower’s RTK antenna covers the 4 rules and why bad placement causes silent drift.
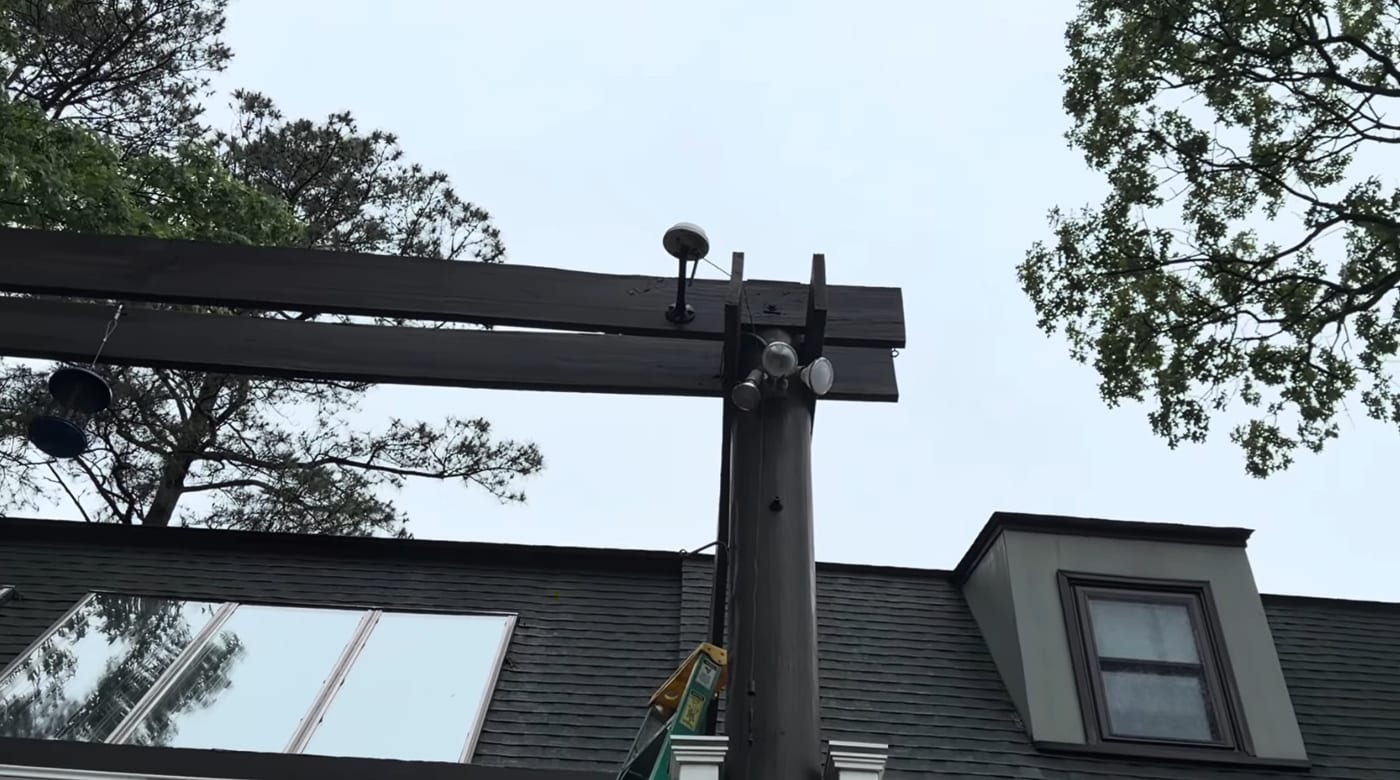
Newer NetRTK/cellular mowers like the Mammotion LUBA 3 skip the physical base entirely and pull corrections over cell signal — but they still need decent coverage. And if your yard is under heavy tree cover, no antenna placement fixes a blocked sky; that’s where a LiDAR mower earns its price. (More in best robot mower for wooded, tree-covered yards.)
9. Slopes, obstacles & wet spots
The mistake: mapping a slope, soft spot, or thin obstacle as if it’s flat open lawn — then the mower slips, sinks, or bumps something it can’t see.
The fix: know your machine’s rated slope and keep steep or chronically wet areas out of the plan (or mark them as seasonal no-go zones). Thin obstacles — trampoline legs, thin poles, decorative stakes — often need a small no-go bumper because the sensors can miss them. Steep yards specifically change which machine you should buy — see do robot mowers work on slopes.
10. Pick the right machine for YOUR lawn
The mistake: picking a mower on price or brand hype, then asking the map to compensate for a machine that was never right for the yard.
The fix: match the machine to the map. Big open lawn? Prioritize working-area rating and battery — see best robot mower for large lawns. Trees and shade? LiDAR. Slopes? AWD or tracks. Complex layout with lots of zones? Make sure the model’s zone and map caps can handle it. The right machine makes the map easy; the wrong one makes it a fight.
Quick reference: mistake → what to do instead
| Costly mistake | Do this instead |
|---|---|
| Guessing your lawn size | Measure real mowable sq ft, then buy to it |
| Dock in a wet/low corner | Flat, dry, open-sky spot with a clear exit |
| Narrow, winding channels | Straight, wider channels + path variation (no ruts) |
| Jittery boundary lines | Smooth lines at walking pace, margin off hard edges |
| No-go zone eating your cap | Route the boundary around big excluded areas |
| Boxing out a simple gap | Use a virtual fence line |
| One giant “mow daily” zone | Logical zones across a 7-day schedule |
| Antenna low or shaded | High, open, stable, clear sky (or LiDAR under trees) |
| Ignoring slope/wet/thin obstacles | Respect slope rating, add no-go bumpers |
| Buying on hype | Match the machine to the map |
Get it mapped right the first time
You don’t have to guess at any of this. The fastest path: run your address through our free check-my-lawn tool for an accurate mowable square footage in about two minutes — then, if you want a human to plan dock placement, channels, no-go zones and a schedule that actually keeps up, book a free mapping call with a Zippy Lawnz pro.
- 📍 Check my lawn — free — real mowable sq ft from satellite, no sign-up wall.
- 🗺️ Book a free mapping call — we’ll pull up your address and plan the whole map with you.
Frequently asked
What is the biggest mistake people make mapping a robot mower?
Buying the wrong-size machine for their real mowable square footage — then discovering the mower can't keep up, or that the lawn is bigger than the model's mapping cap. Get an accurate mowable sq ft first (we measure it from satellite for free), then map to that number. Most other headaches — ruts, missed edges, a schedule that can't keep up — also trace back to the map, not the machine.
How do I stop my robot mower from making ruts or tracks in the grass?
Ruts come from the mower driving the exact same line every time, usually through a narrow connecting channel between zones. Make channels a little wider and as straight as possible, and use your app's channel-width or path-variation setting so the mower doesn't wear one groove. If a channel is unavoidably tight, rotating the mowing pattern helps spread the wear.
Do I need an RTK antenna, and where should it go?
Most satellite-based mowers (Segway Navimow, older Mammotion LUBA) need an RTK antenna with a clear view of the sky — mounted high and open, like a roof, gable, or tall pole, away from the area being mowed and within the distance limit from the dock. Newer NetRTK/cellular mowers (Mammotion LUBA 3) skip the physical base and pull corrections over cell signal instead. Under heavy tree cover, a LiDAR mower is the real fix.
What's the difference between a boundary, a no-go zone, and a virtual fence?
A boundary is the outer edge the mower won't cross. A no-go zone is an island inside the boundary it avoids — a flower bed, pond, or tree ring. A virtual fence is a line you draw to close an opening (like an open driveway edge) or split one area into zones without a physical edge. Using the right tool for each keeps your true mowable square footage accurate.
How many zones can a robot mower have?
It varies by brand and model — some cap the number of zones or the total mapped area. Zones are how you build a realistic 7-day schedule (front Monday/Thursday, back Tuesday/Friday, and so on), so it's worth knowing your machine's limits before you map. We'll tell you the exact caps for the model you're considering.
Keep reading
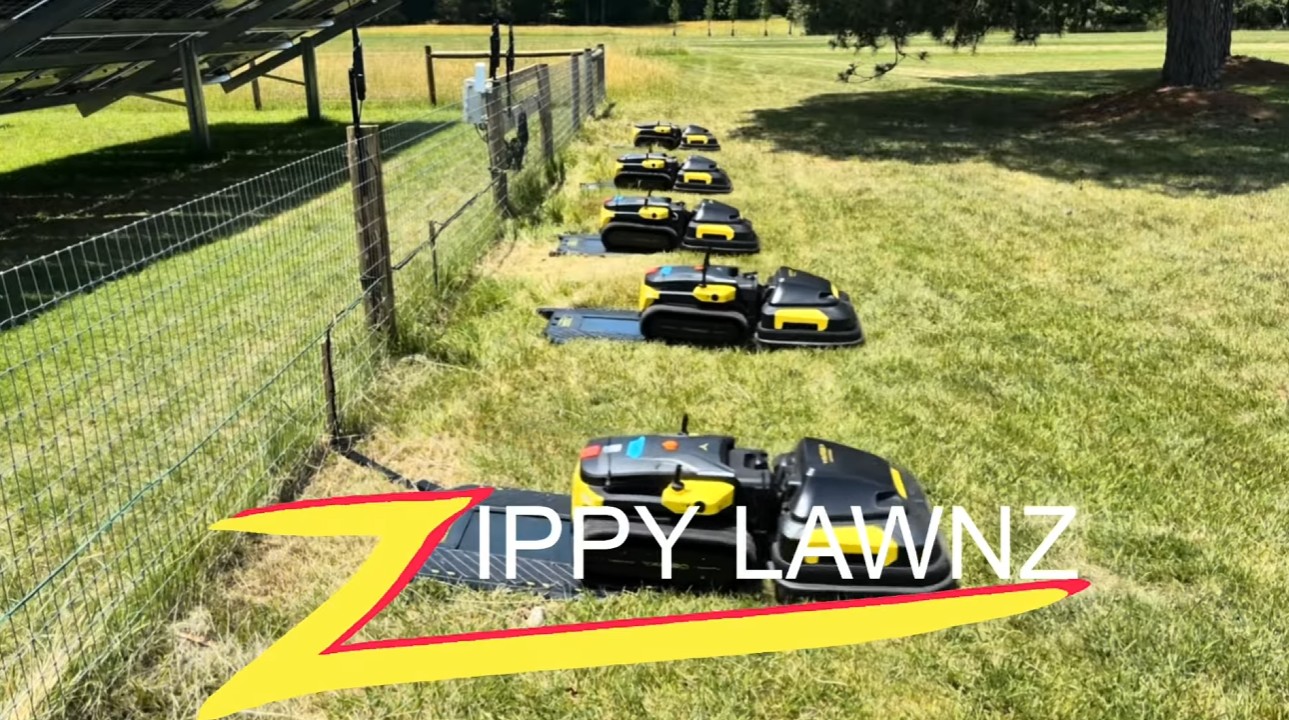 Buying guideBest Robot Mower for Large Lawns (2026): Yarbo vs Navimow vs MammotionThe best robot mowers for large lawns and acreage — LUBA 3, Navimow X450, Yarbo Pro and the commercial Terranox — matched to your acres, from 1 to 6+.
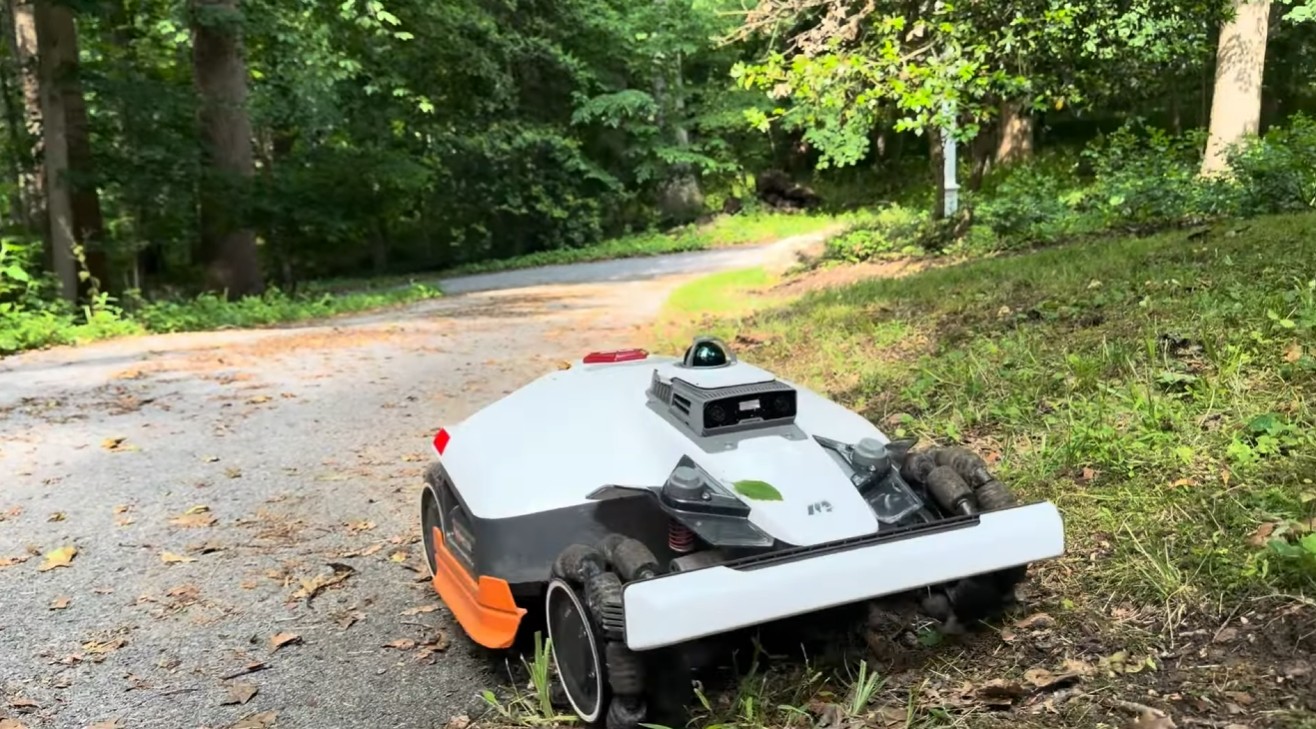 Buying guideBest Robot Mower for Wooded & Tree-Covered Yards (2026)Can a robot mower work under heavy tree cover? Why RTK fails under a canopy, and how the Mammotion LUBA 3's 360° LiDAR finally cracks shaded, wooded yards.
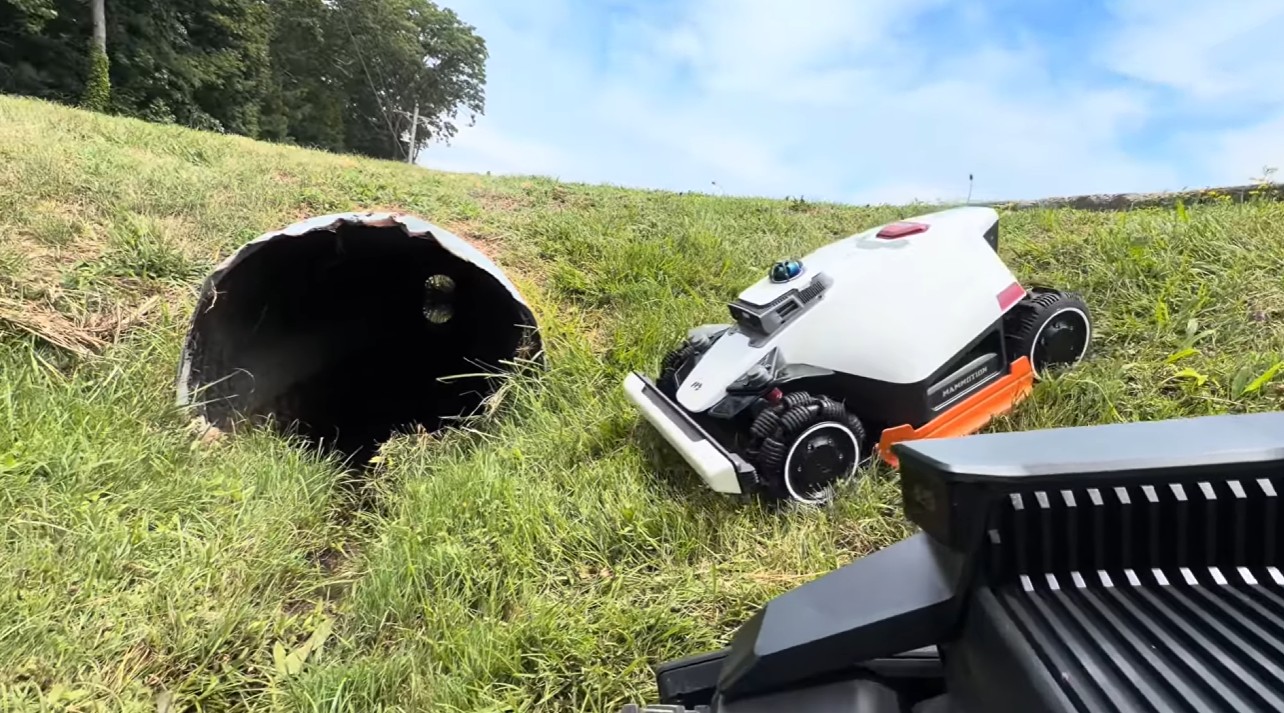 How-toDo Robot Mowers Work on Slopes and Hills?Yes — modern all-wheel-drive robot mowers handle brutal slopes. We break down a field test where a robot climbs an 84% grade (40°) and clears 2-inch obstacles.
Explore the system
The mowers and pages behind this topic — see them sized to your yard.