
How to Plan Your Robot Mower Install With Your Phone
Most install-day surprises are about where things go. The dock ends up somewhere one of you didn’t expect, the outlet turns out to be on the wrong wall, or the gate is narrower than anyone remembered. You can settle all of it ahead of time with the phone in your pocket: place the mower life-size in your own yard, take a picture, and send it to the two people who need to see it. That’s your installer, and whoever else lives with the lawn.
Here’s how to do it, and what to look for while you’re standing out there.
Step 1: Put the mower in your yard, life-size
We scanned the real machines ourselves, at real size, and put each one on its own page. Open the one you’re considering on your phone and tap See it in your yard:
- Segway Navimow X4 (the X430 and X450 share this body)
- Yarbo Y40 with the mower attached
- Lopkin L2500
- Mammotion LUBA 2
All four are on one page if you want to compare. An iPhone opens the view in Safari with Apple’s AR Quick Look, and an Android phone uses Google’s Scene Viewer. There’s nothing to install for this step. The free Zippy Lawnz app has the same view built in.
Point the camera at the ground, and the mower appears on your lawn. Drag it with one finger and turn it with two. The size is locked, so what you see is how much room it really takes.
One honest note: today’s scans are the mowers on their own. The charging stations come next. For planning, that’s enough. Park the mower where it would sit to charge. The station sits under and just behind it, so the mower’s footprint and the lane in front of it are the parts that matter.
Step 2: Walk to the spot you have in mind for the dock
Stand where you’d like the charging station and place the mower there, facing the lawn. Then check the spot against what we look for on every install:
- Level ground. A station on a slope or a bump leads to missed docks. If the mower on your screen looks like it’s leaning, so will the real one.
- A straight way in. The mower lines up as it comes home. Give it a clear lane in front of the dock, not a tight corner or a spot right behind a planter.
- Open sky above it. A satellite mower finds its position at the station before it leaves. A metal roof, a deck or a solid awning overhead is the most common reason a “sheltered” dock stops working. A little shade from a tree or the mower’s own plastic garage is fine, and helps the battery on hot days.
- Power within a short, safe run. Look for the outdoor outlet. A cord stretched across the lawn gets tripped over and eventually cut, so the closer the better, with the cable buried.
- Close to the work. The mower drives from the dock to every zone and back. A dock near the lawns it mows most spends its charge cutting, not commuting.
- Nothing to trim around. A mower can’t cut tight around its own station. A turf pad or a pocket in a mulch bed solves that for good.
If you want the reasoning behind each of those, how to pick the spot for your charging station and where to put a Navimow charging station go through them one at a time.
Try two or three spots. This is the whole point of doing it on a phone: moving the mower costs you nothing today, and moving a mounted station later means a service visit.
Step 3: Take the pictures
When the mower is sitting where you want it, take the picture. On an iPhone that’s the white shutter button in the camera view. On any phone, a screenshot works.
Then take the rest. These are the pictures our installers ask for, and they’re the same ones the app files for you:
- Where the dock goes. Place the mower life-size on the spot and take the picture. Level ground at the lawn's edge, with room for the mower to drive straight in.
- The outlet it plugs into. The outdoor outlet (or where the power comes from), with the dock spot in the same shot if you can.
- Where the antenna mounts. The roof edge, wall or post you have in mind, with as much open sky above it as you can show. (Only for a mower that mounts its own antenna.)
- How it gets to every lawn. Gates, narrow side yards and the paths between lawns. A gate it has to pass through needs at least 3 feet open.
- Anything else we should see. A buried cable, a sprinkler head, a spot it must never go. Add a note.
A few things make a picture more useful:
- Step back. A wide shot that shows the house wall, the outlet and the dock spot together tells us more than three close-ups.
- Show the sky for the antenna. If your mower mounts its own antenna, the question is how much open sky is above it, so tilt the camera up. The antenna doesn’t have to sit beside the dock, and often shouldn’t. Where to install your RTK antenna explains the four rules. Some mowers have nothing to mount at all; we’ll tell you which kind yours is.
- Open the gate. Take the picture with the gate open the way the mower would find it, and place the mower in the opening so the fit is plain to see.
- Add a few words. “Left of the garage door” or “sprinkler head here” is all a note needs to say.
Step 4: Send them to our installers
Pictures in your camera roll don’t help on install day. Put them with your lawn:
- Map your lawn, free, on the website or in the app. It takes a few minutes, and it’s also how we recommend the right mower.
- Open My Lawn and find Show us exactly where it goes.
- Add each picture under the spot it shows: the dock, the outlet, the antenna, the way through.
That’s it. The pictures sit with your lawn map, so the installer who comes to your house has seen the spot, the outlet and the gate before the truck is loaded. If something about the spot won’t work, such as a roof over it or ground that isn’t level, we’ll say so and show you the nearest place that does, before anything is mounted.
Step 5: Send one to your spouse
The other person who cares where a robot parks is the one you share the yard with. Each picture in the app has a Send button. It hands the photo to your phone’s share sheet with a short note, so it goes out as a normal text or message. Your address isn’t part of it.
A life-size picture in your own yard answers the question a product photo can’t: “It’s going there?” It’s a much easier conversation before install day than after the antenna is on the wall.
📍 Plan your install with it
Show us exactly where it goes
Stand where you want the dock, place the mower life-size, and take the picture. Add it to your lawn in the free Zippy Lawnz app with the outlet and the antenna spot, and the picture does the explaining:
- Our installers. They see the exact spot, the outlet and the way through before install day, so it's done once and done right.
- Your spouse. Send the picture and settle where it goes before it arrives: life-size, in your own yard.
What we still do on install day
A phone plan doesn’t replace the install. It makes it faster and gets it right the first time. On site we still check the things a picture can’t show: that the satellite fix holds at the dock, that the antenna has the sky it needs, that the mower makes it through every passage on its own, and that the cables are buried and protected. Our installation guide walks through all eight steps.
Not ready to plan a dock yet? Start with the map. It’s free, it measures your lawn, and it’s the first thing we look at.
- 📍 Map my lawn, free and add your install pictures when you’re ready.
- 📱 See a mower in your yard: all four scans, life-size, on your phone.
- 📲 Get the free app for iPhone and Android.
Upgrades for this, from our shelf
What each one fixes, what it fits, and how it works. Ranked by what our customers order most.

Fixes: The antenna sits on a ground pole that can't see enough sky, or the trimmer keeps finding it.
Fits Navimow X430, X450 and Terranox antennas

Fixes: The mower sits in full sun and rain while it charges.
Fits Navimow X430 and X450

Fixes: The best sky for the antenna is nowhere near the charging station.
Fits Navimow X3, X4 (X430, X450) and Terranox
See the actual size, right now, on your phone
We scanned these mowers ourselves, from the real machines, at real size. Spin one here, or tap “See it in your yard” on your phone and it appears on your lawn, life-size.
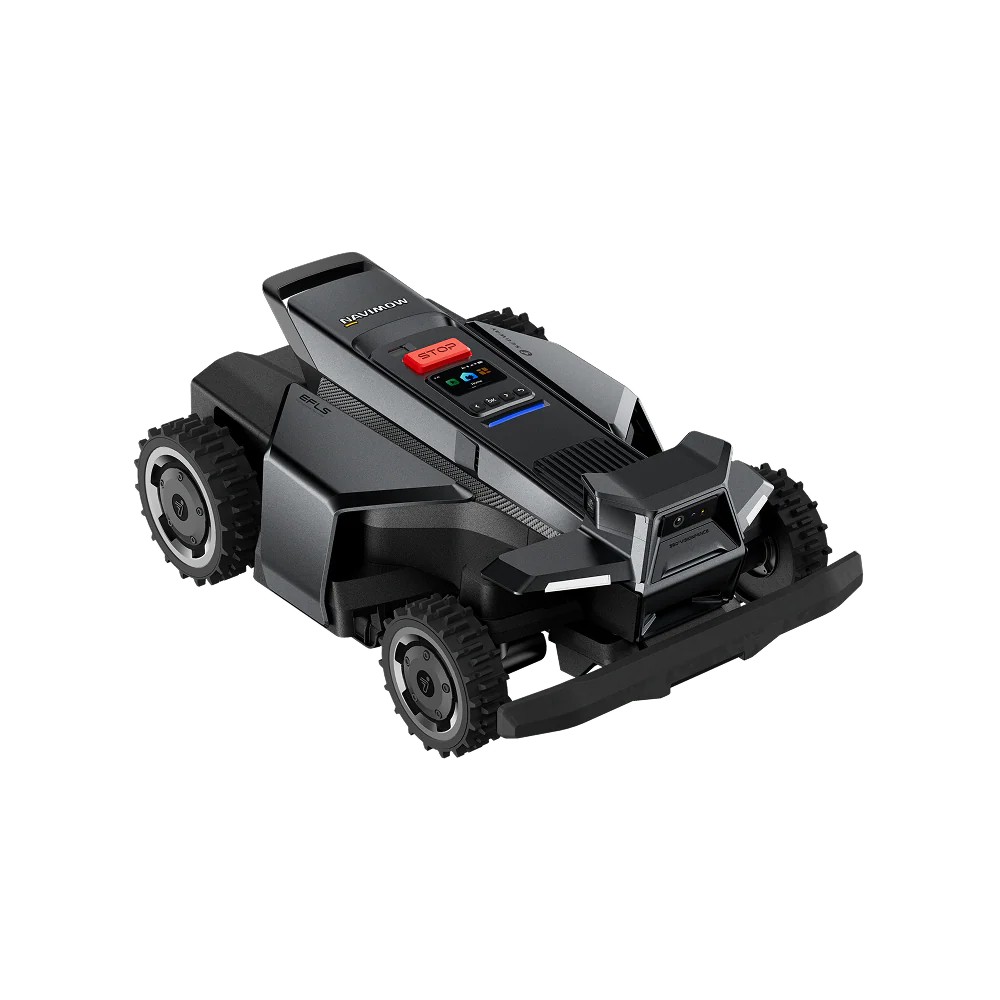
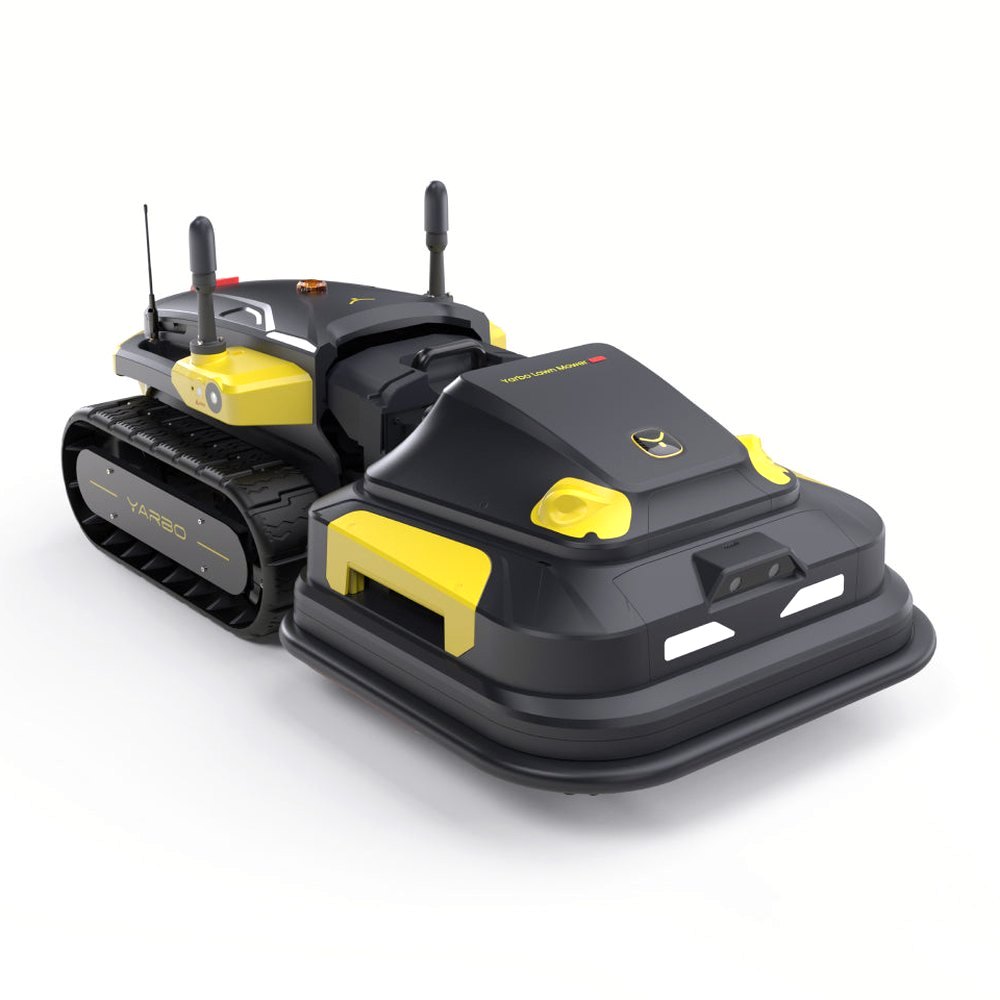
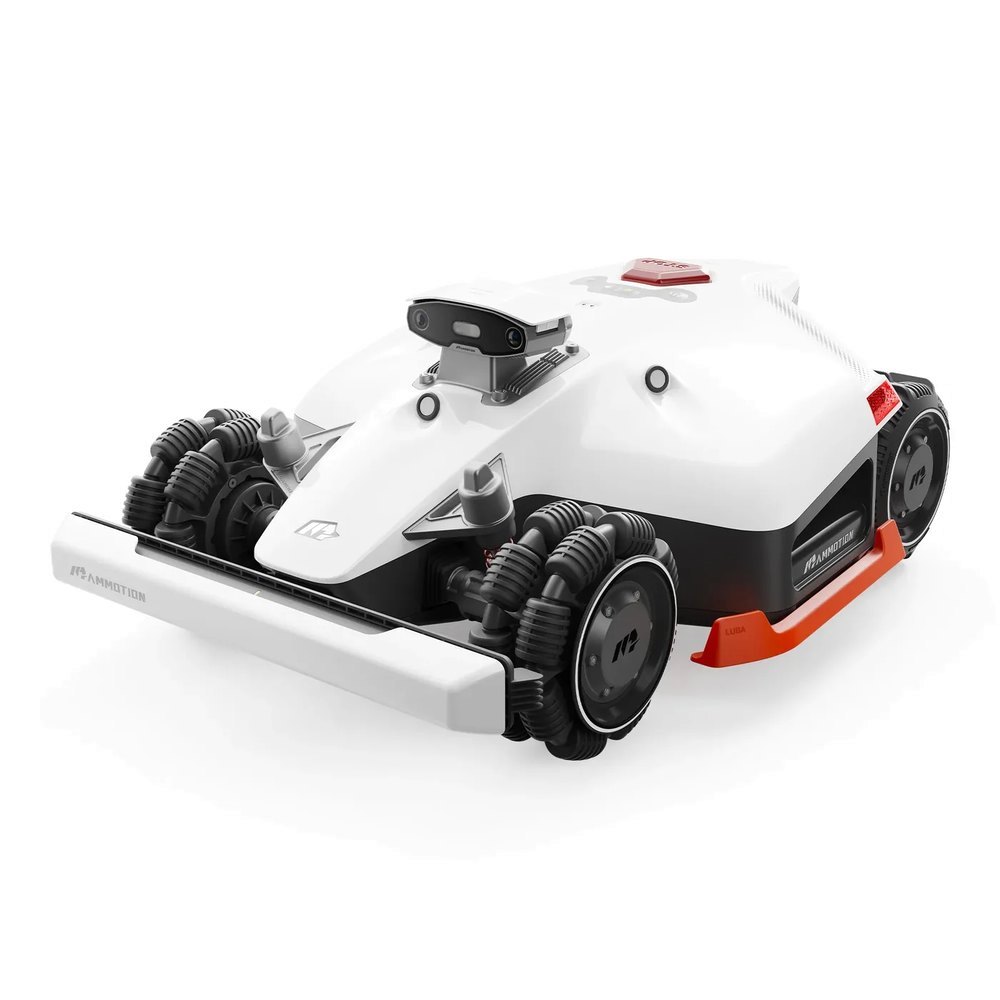
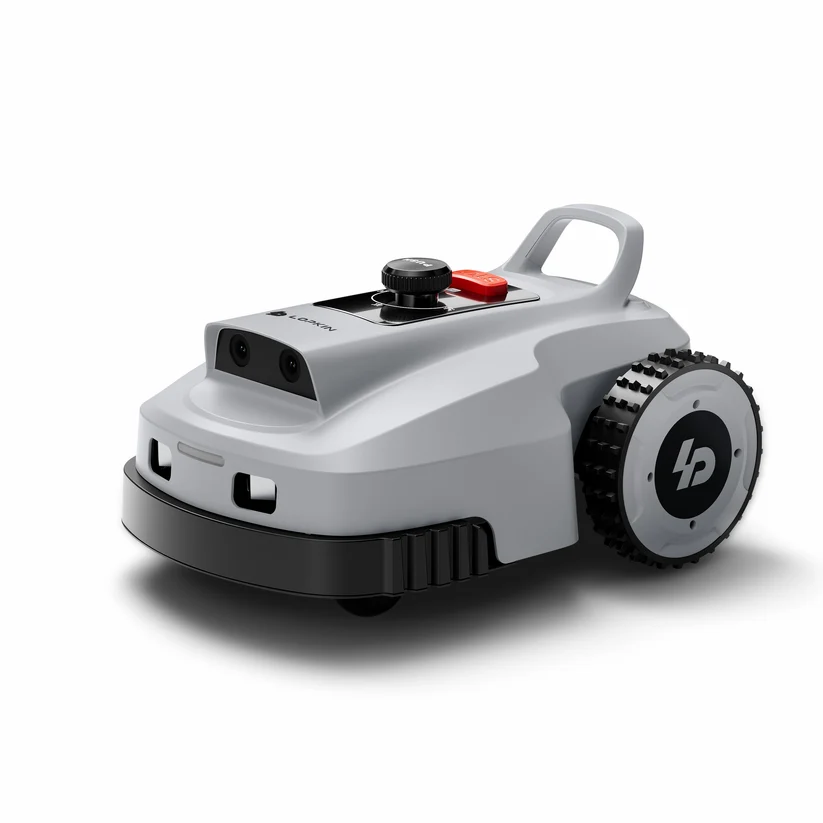
📍 It plans your install, too. Place the mower where it will park, take the picture, and send it to our installers or your spouse. How to plan your install with your phone →
It's in our free app too. The camera view, your lawn map and your mower's reminders, free on iPhone and Android.


Frequently asked
Do I need an app to see a robot mower in my yard?
No. Open one of our scan pages on your phone and tap See it in your yard. An iPhone opens it in Apple's AR Quick Look and an Android phone in Google's Scene Viewer. The free Zippy Lawnz app has the same view, and it's where you file the pictures with your lawn so our installers see them.
Is the mower in the camera view really life-size?
Yes. We scanned the real machines ourselves, at real size, and the camera view locks the size. You can drag the mower and turn it, but a pinch won't make it bigger or smaller, so the room it takes on your screen is the room it takes in your yard.
Does the camera view show the charging station too?
Not yet. Today's scans are the mowers on their own, and the charging stations come next. For planning, park the mower where it would sit to charge: the station sits under and just behind it, so the mower's footprint and the lane in front of it are what you need to see.
What pictures should I take before a robot mower install?
Four cover almost every yard: where the dock goes, the outlet it plugs into, where the antenna mounts (only if your mower uses its own antenna), and the gates or narrow passages on the way to each lawn. Add one more for anything the installer should know about, such as a buried cable or a sprinkler head.
Will my installer set it up exactly where I put it?
That's the plan, and the picture is what makes it possible. If the spot has a problem you couldn't see, such as a roof blocking the sky or ground that isn't level, we'll tell you why and show you the nearest spot that works before anything is mounted.
Is my address shared when I send the picture to someone?
No. The Send button hands the picture itself to your phone's share sheet with a short note. The photo says where; your address isn't part of it.
Keep reading


Explore the system
The mowers and pages behind this topic — see them sized to your yard.